In the menu, select Expenses

##Create a new expense
To create a new Expense, click +New

Fill in the details of the expense
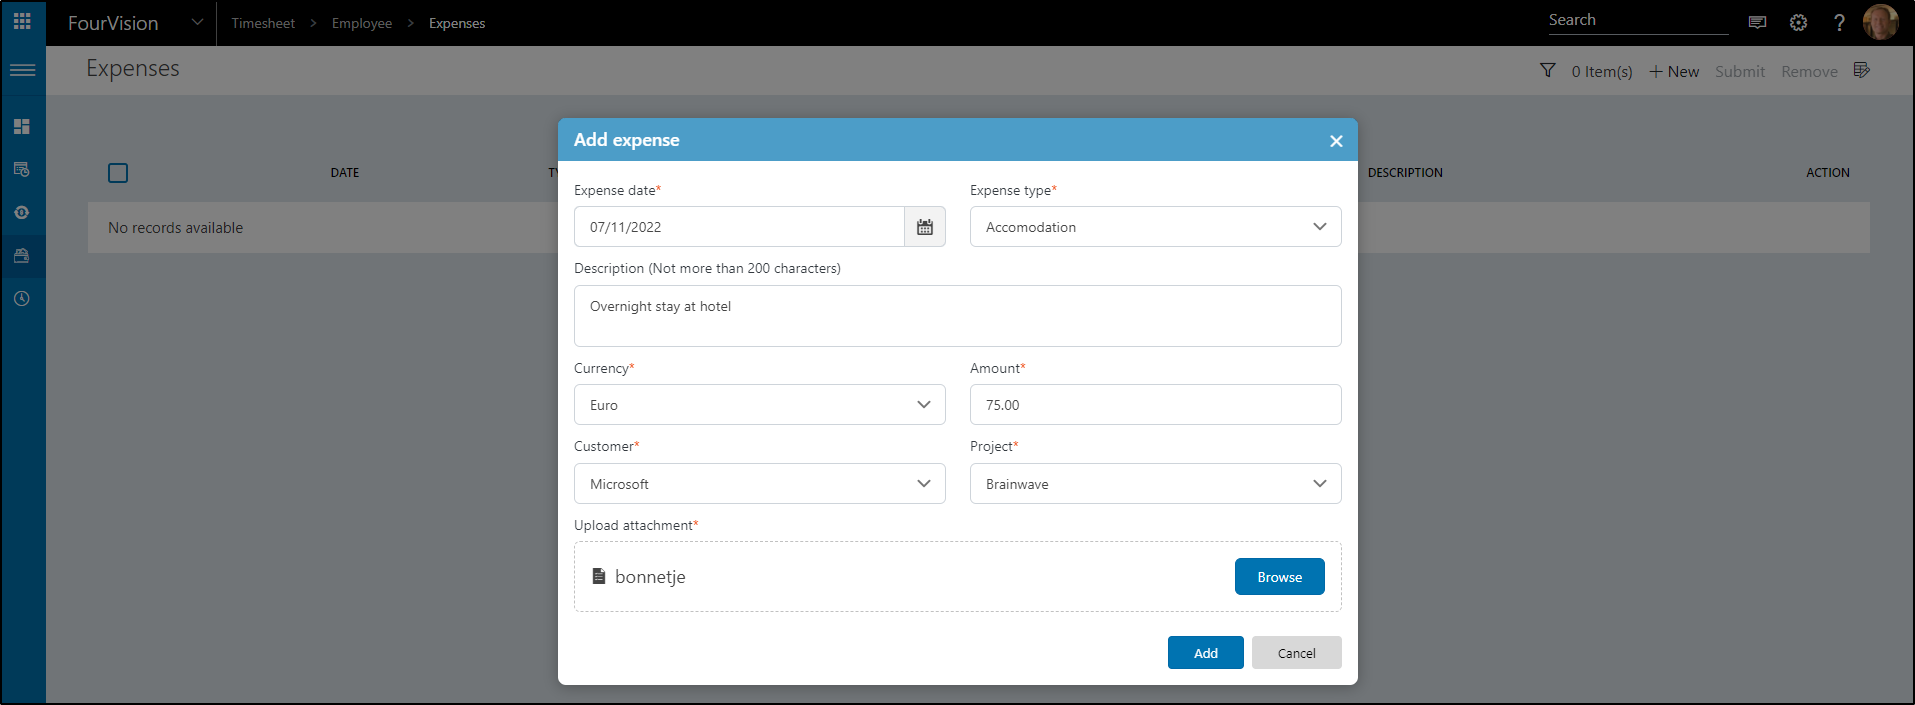
All the fields are mandatory by default except for the attachment, this is setup by the admin. In some cases, you might not need to upload an attachment.
Clarification of the fields:
Expense date the date that the expense was made.
Expense type depending on setup, you can pick one out of one or more options.
Description not mandatory but would be a good addition to fill in as much information as you can.
Currency select the currency of the expense. If you paid your expense in US dollars, fill in US dollars, if you paid in Euro's, select EUR, etc.
Amount fill in the amount of the expense. If you spend 125 US dollars, fill in 125.
Customer Select the customer the expense was made for. If you had an overnight stay at a hotel to visit customer 'Microsoft', fill in Microsoft.
Project Select the project the expense was related to.
Upload attachment upload the receipt, or any other proof you paid the expense. In a couple of cases, it is not possible to upload your expense. Either because the file is too big or too small, or the file format is not recognized. If you need any help or run into issues, contact your system administrator.
If you are done filling the details, click Add.
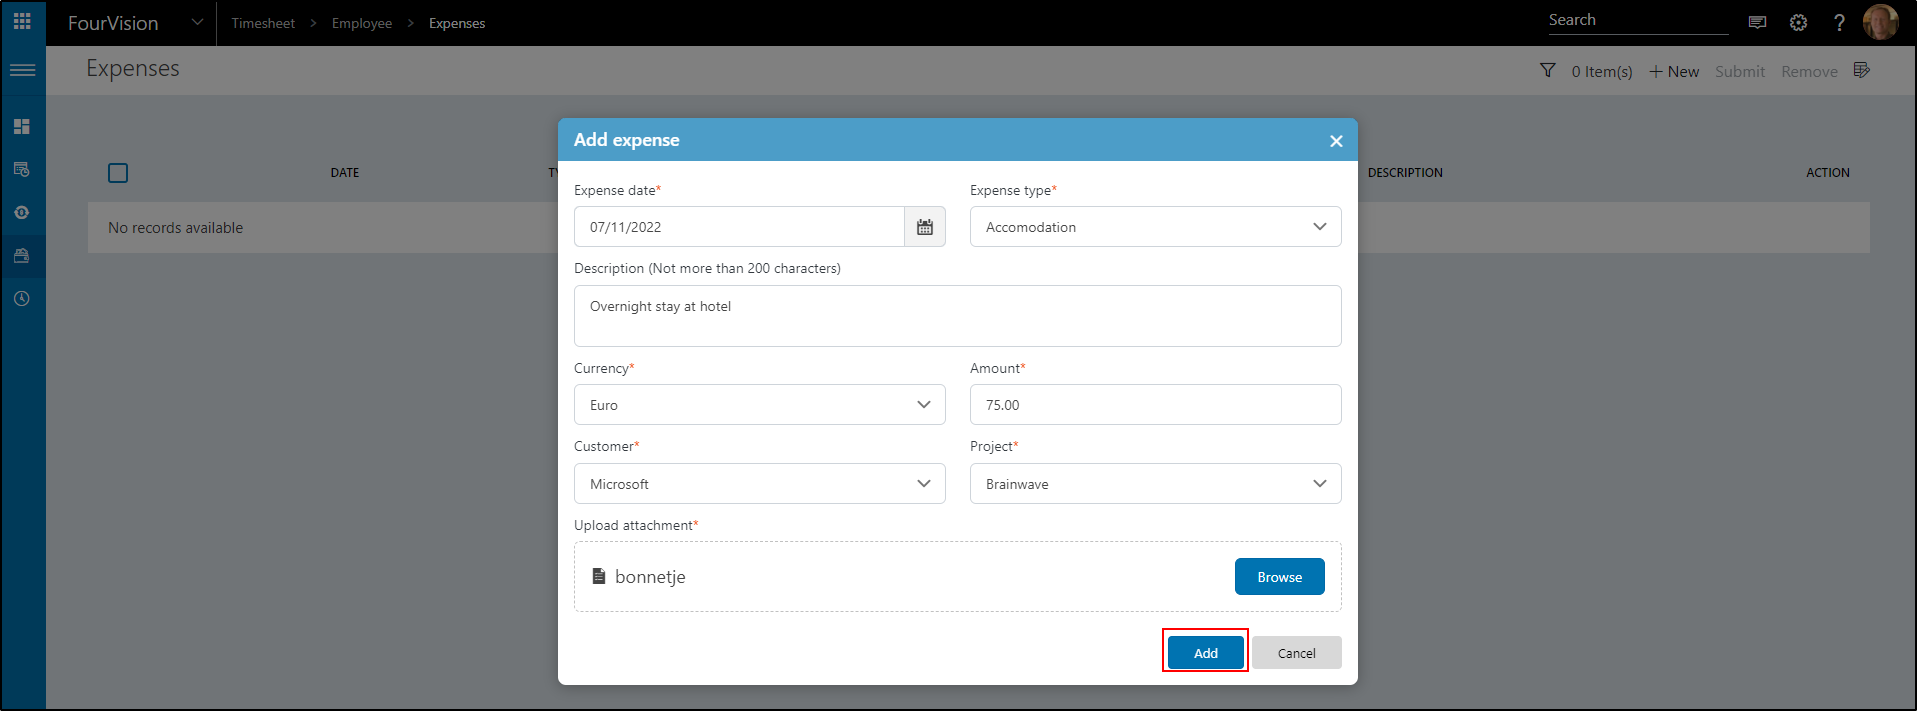
The expense is added.

If you want to Submit the expense, you have to select it first.

Submit the Expense

Click Submit.
After submitting, you cannot change anything anymore.

##Filter on expenses If you have a lot of expenses, you can filter them if needed, so only the relevant ones are shown.
To do this, click the Filter icon.

You can filter on Type, Customer, Project, Currency, Status, and Date range. It is also possible to use a combination of those to get a more detailed filter.

##Column options
In the top right corner, we have an icon Column options

Click the icon.
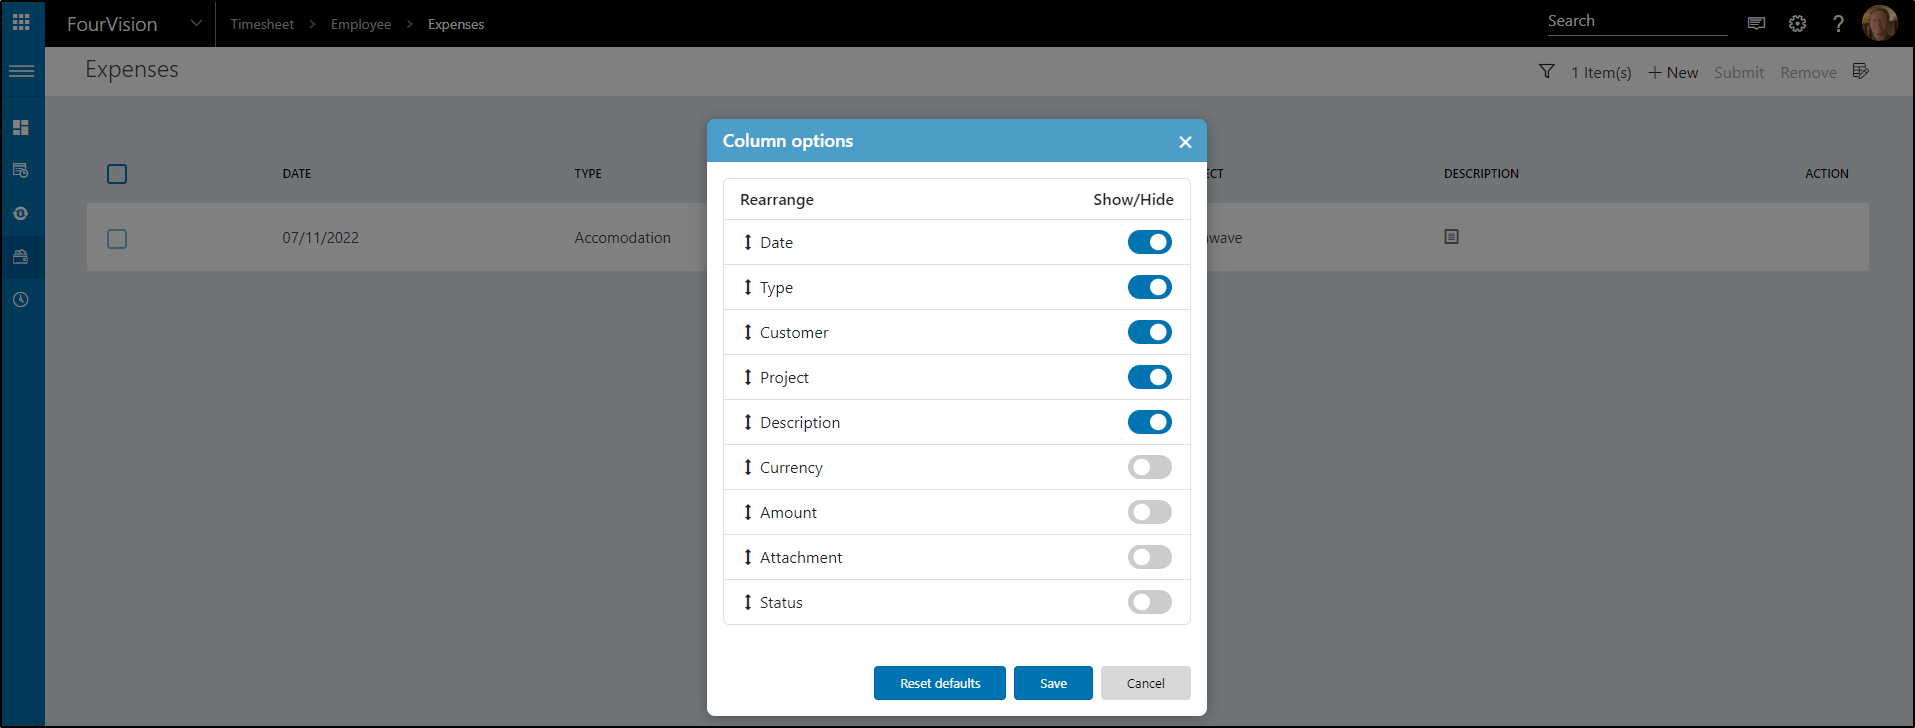
You can switch on / off any toggle you like. Turn them all on and click Save
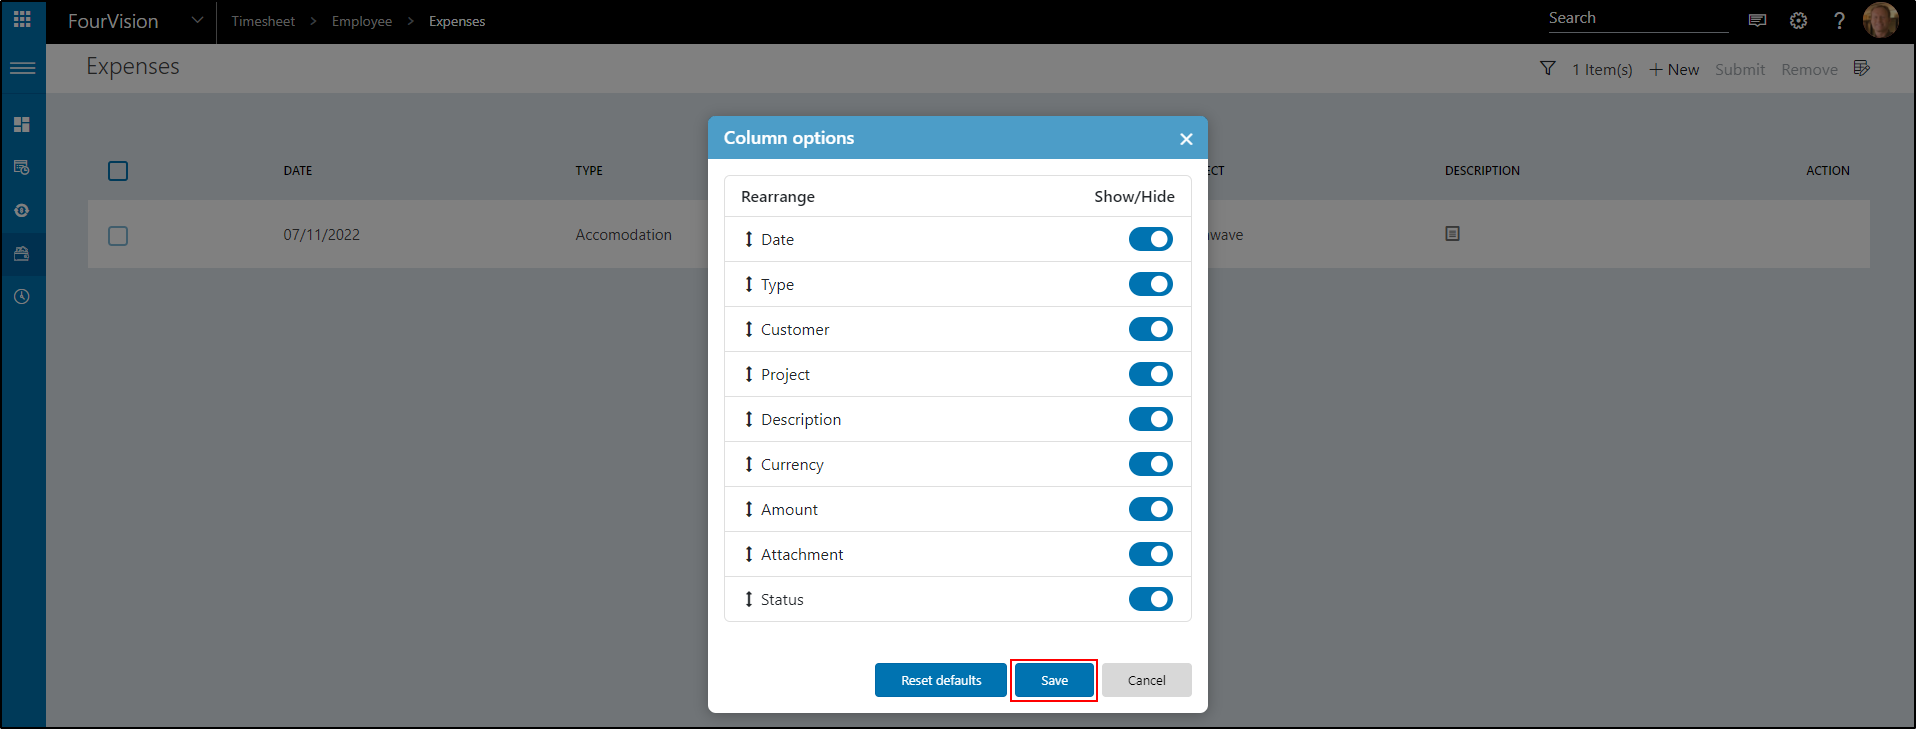
As you can see, all the columns are shown now.

Select the Column options again and click Reset defaults
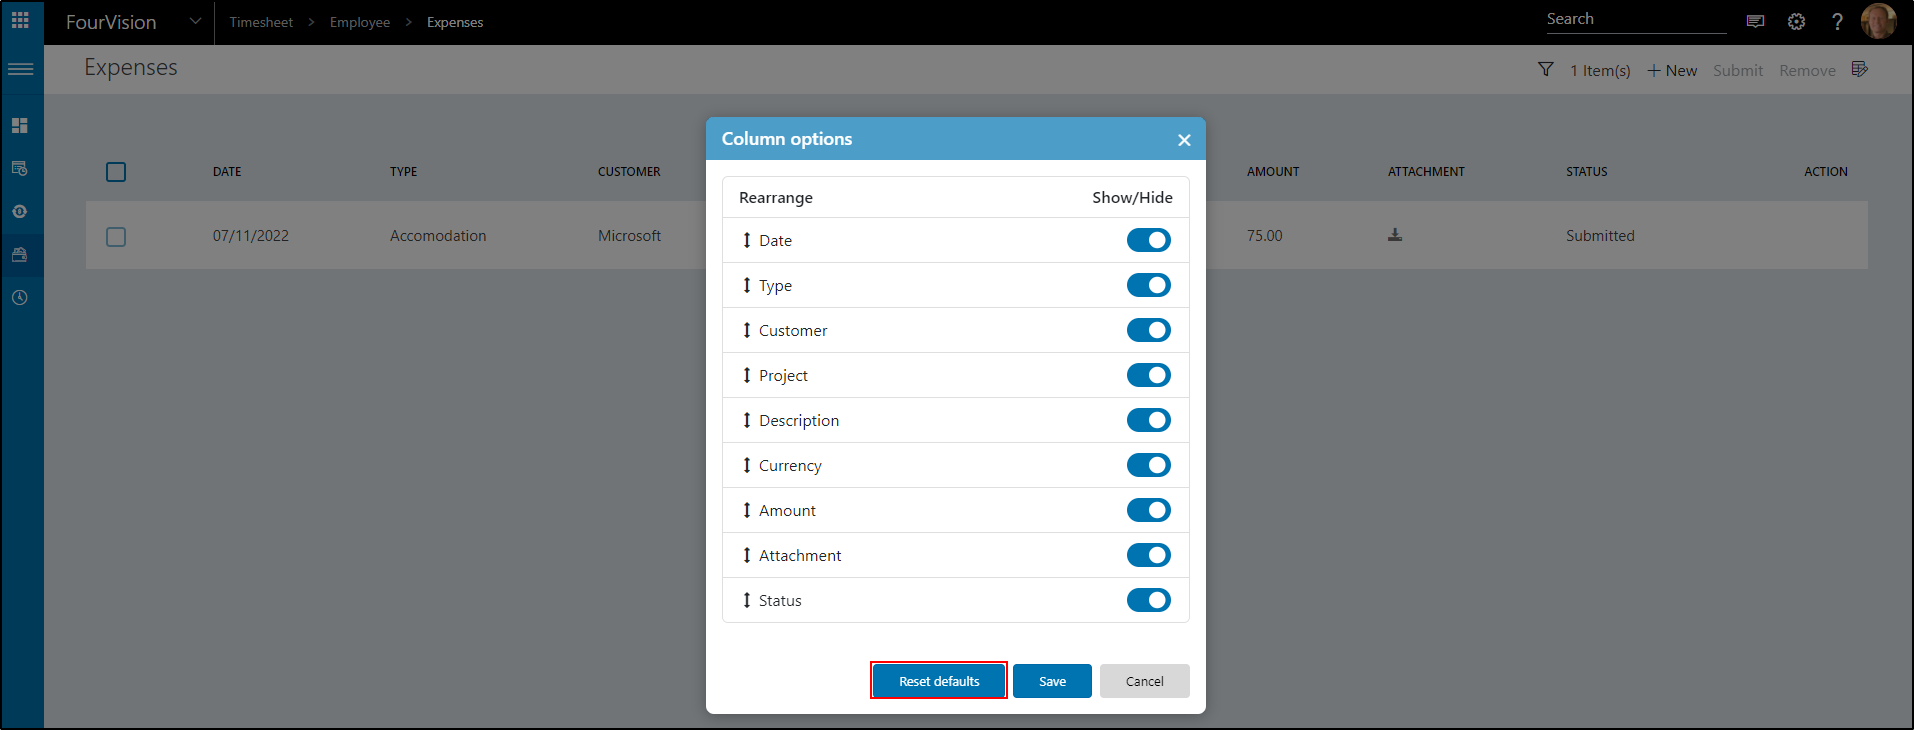
A popup will show. Click yes.

The settings are set to default again.
