Select 'All time transaction query' in the menu on the left.

Click +New in the top right corner of the screen

A screen with options will open
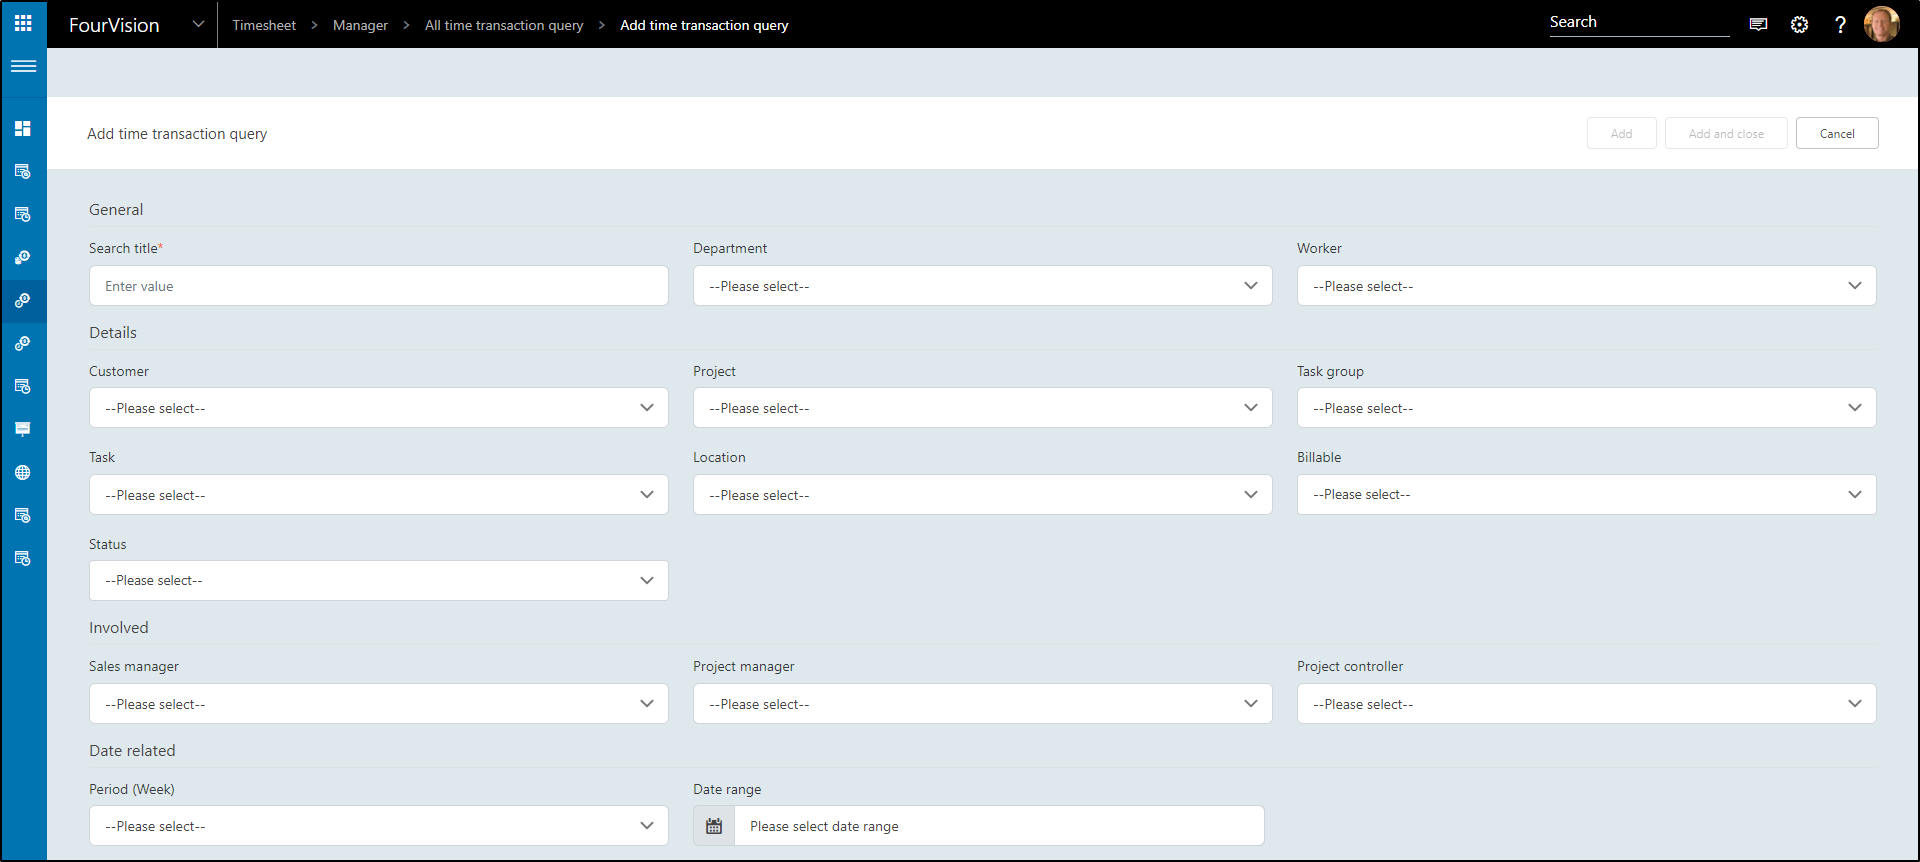
The Search title is mandatory, the rest of the fields are optional.
Set the Search title and Add and close
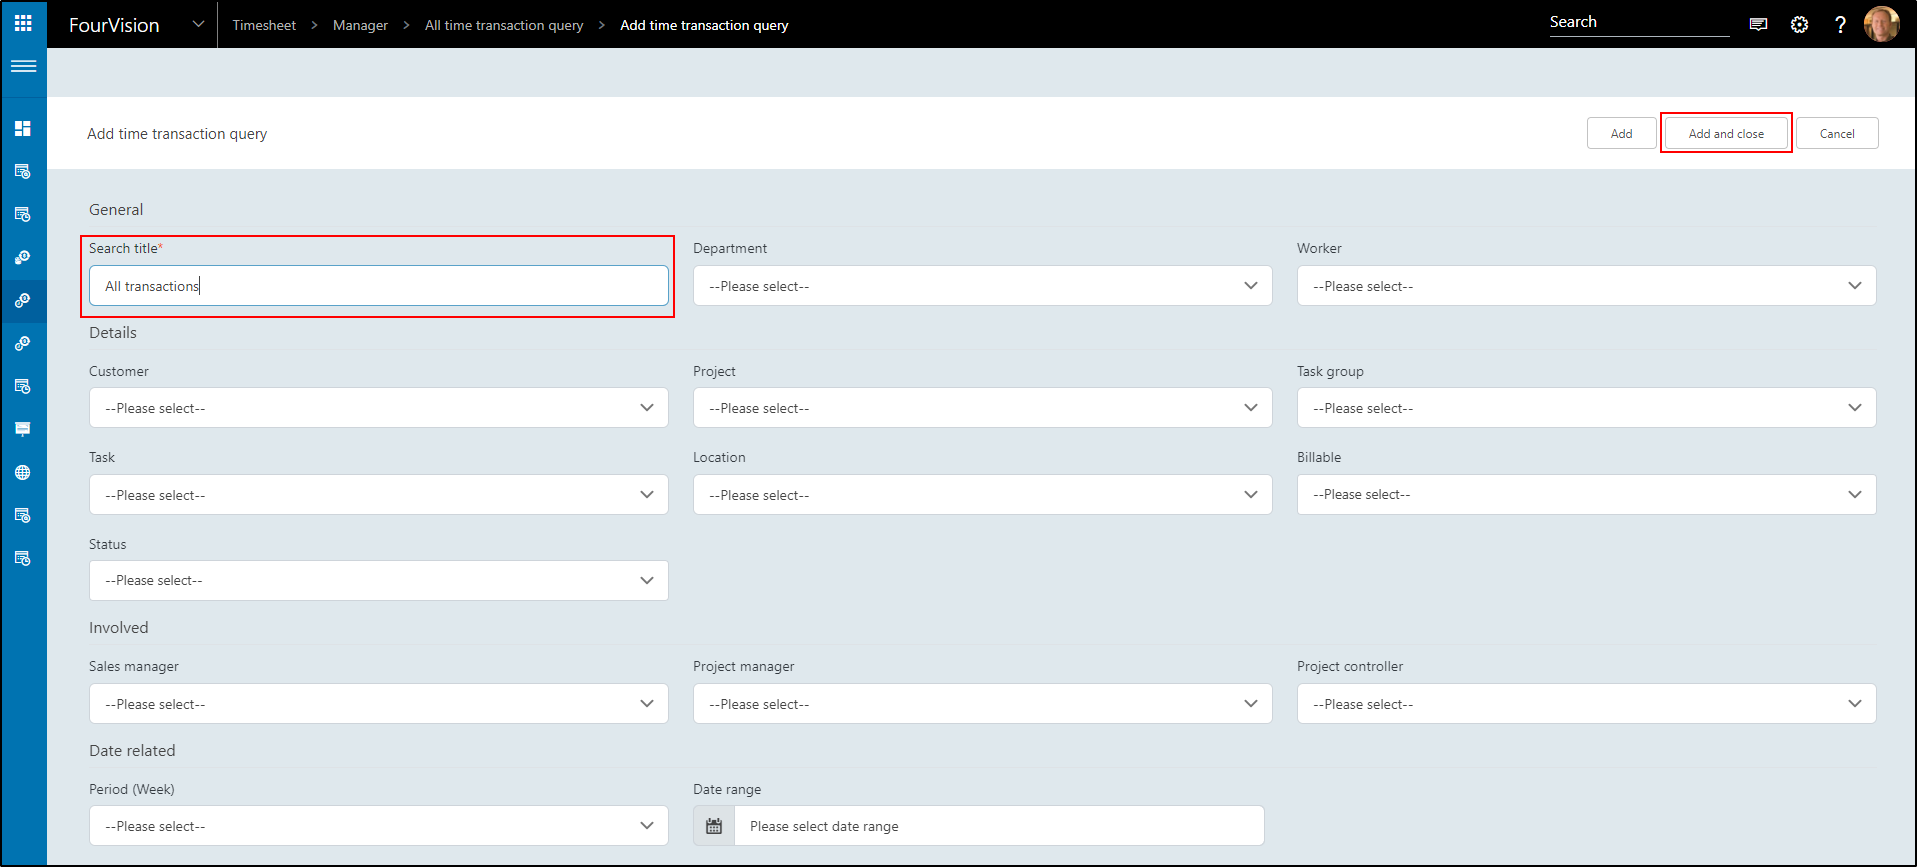
The query is created.

Click the query.
It will show all the transactions because no filter is set during the creation of the query.
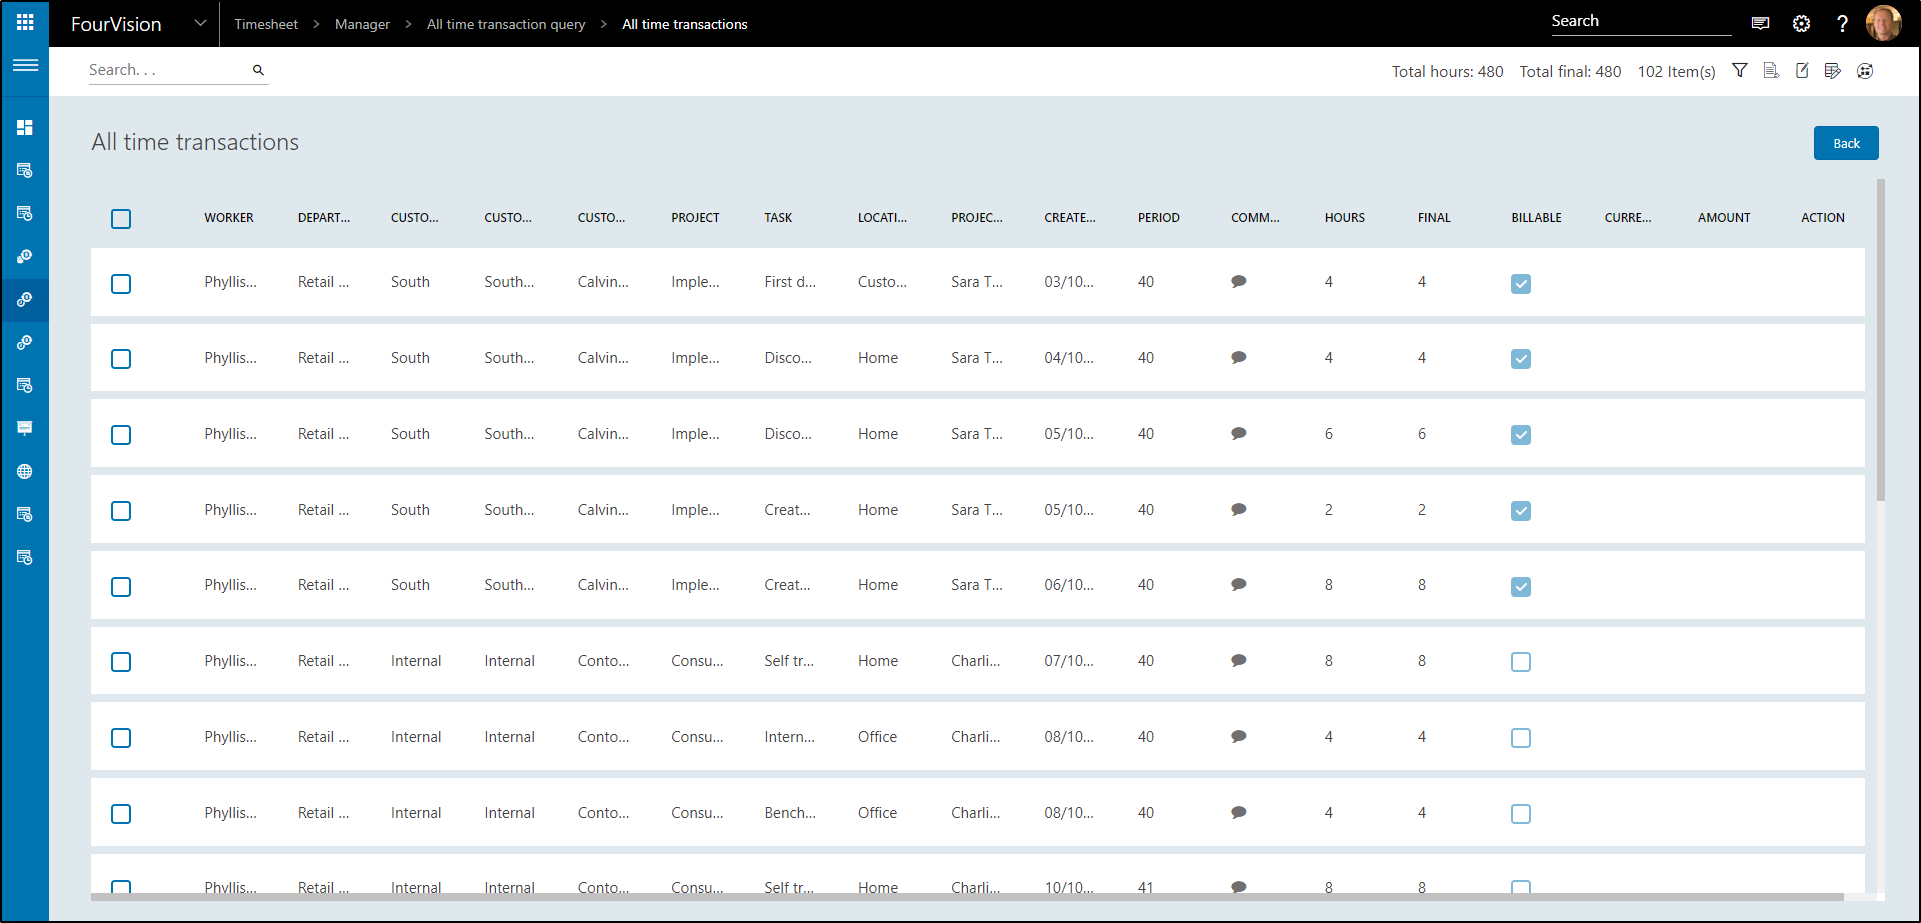
###Filter functionality
On the right side of the screen, a couple of icons are available. The first one is the filter.
Click on the filter.

From here, it is possible to filter on Worker, Department, Location, Customer, Project, Task group, Task, Billable, Status, Sales manager, Project manager, Project controller, Period, Date range, or a combination of those.
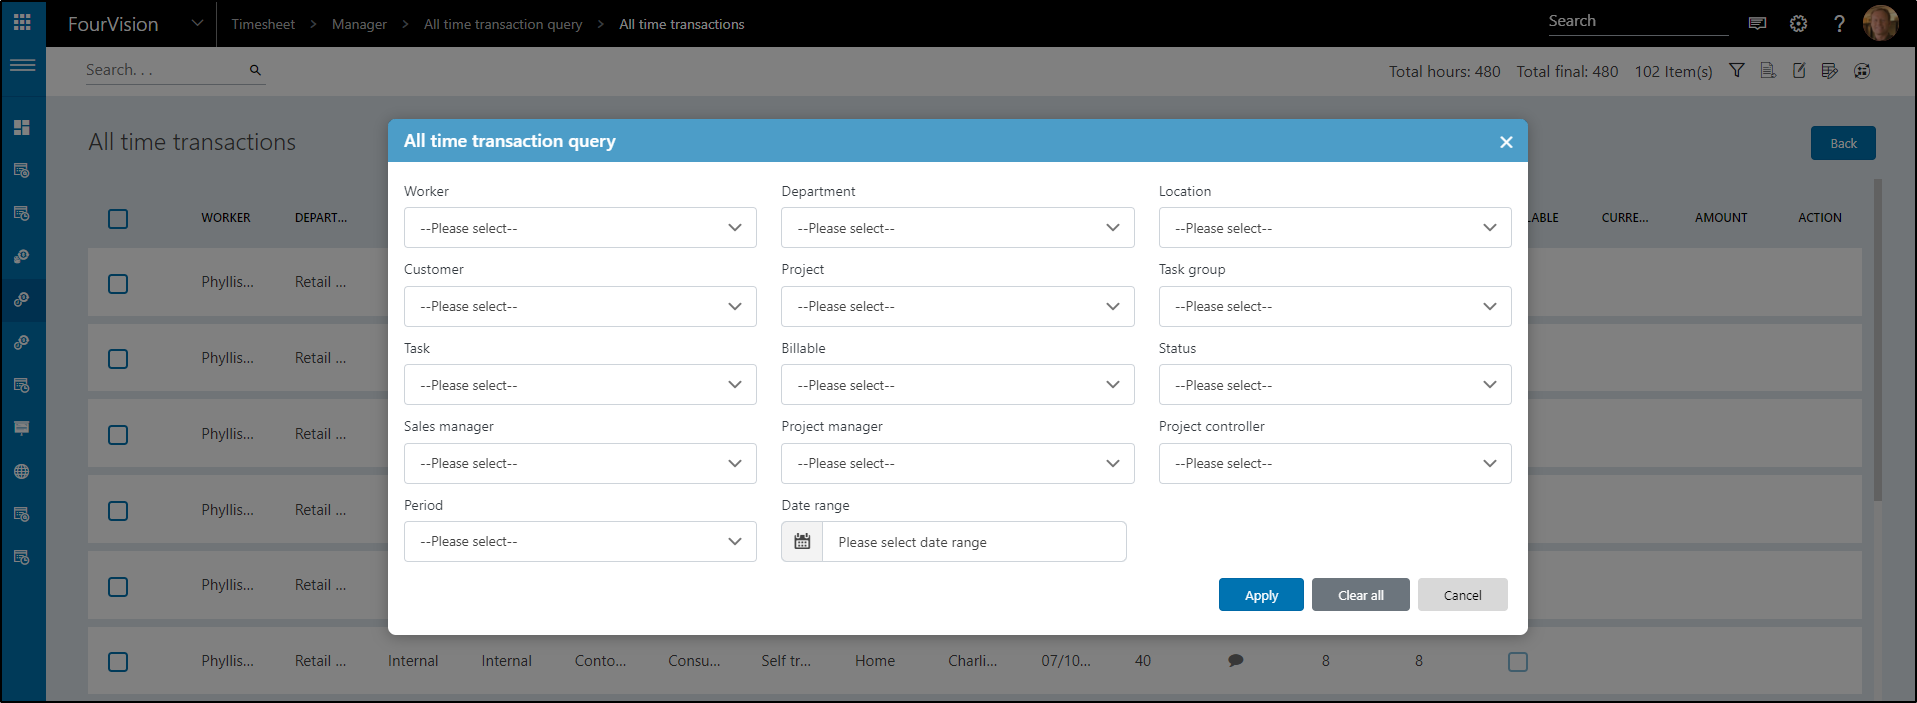
Example:
Create a combination of filters and click Apply
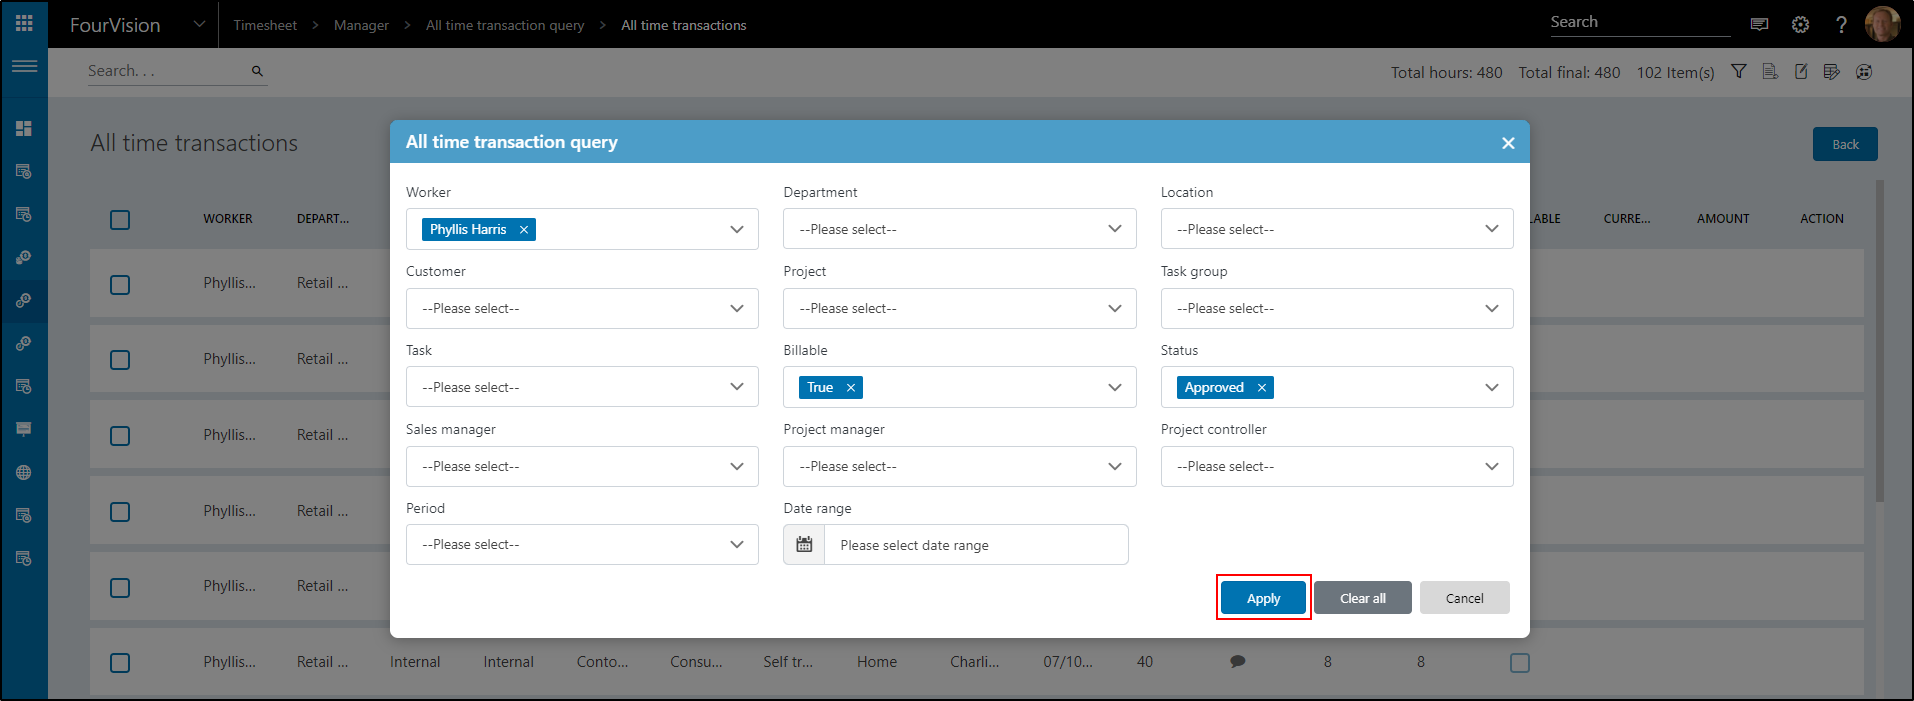
Result:

If you want to remove the filter, click the filter icon again and click the button 'Clear all'.
###Export functionality
This will export all the selected transactions (checkbox).
Open the query without any filters and do not select any transactions. Click the Export icon.
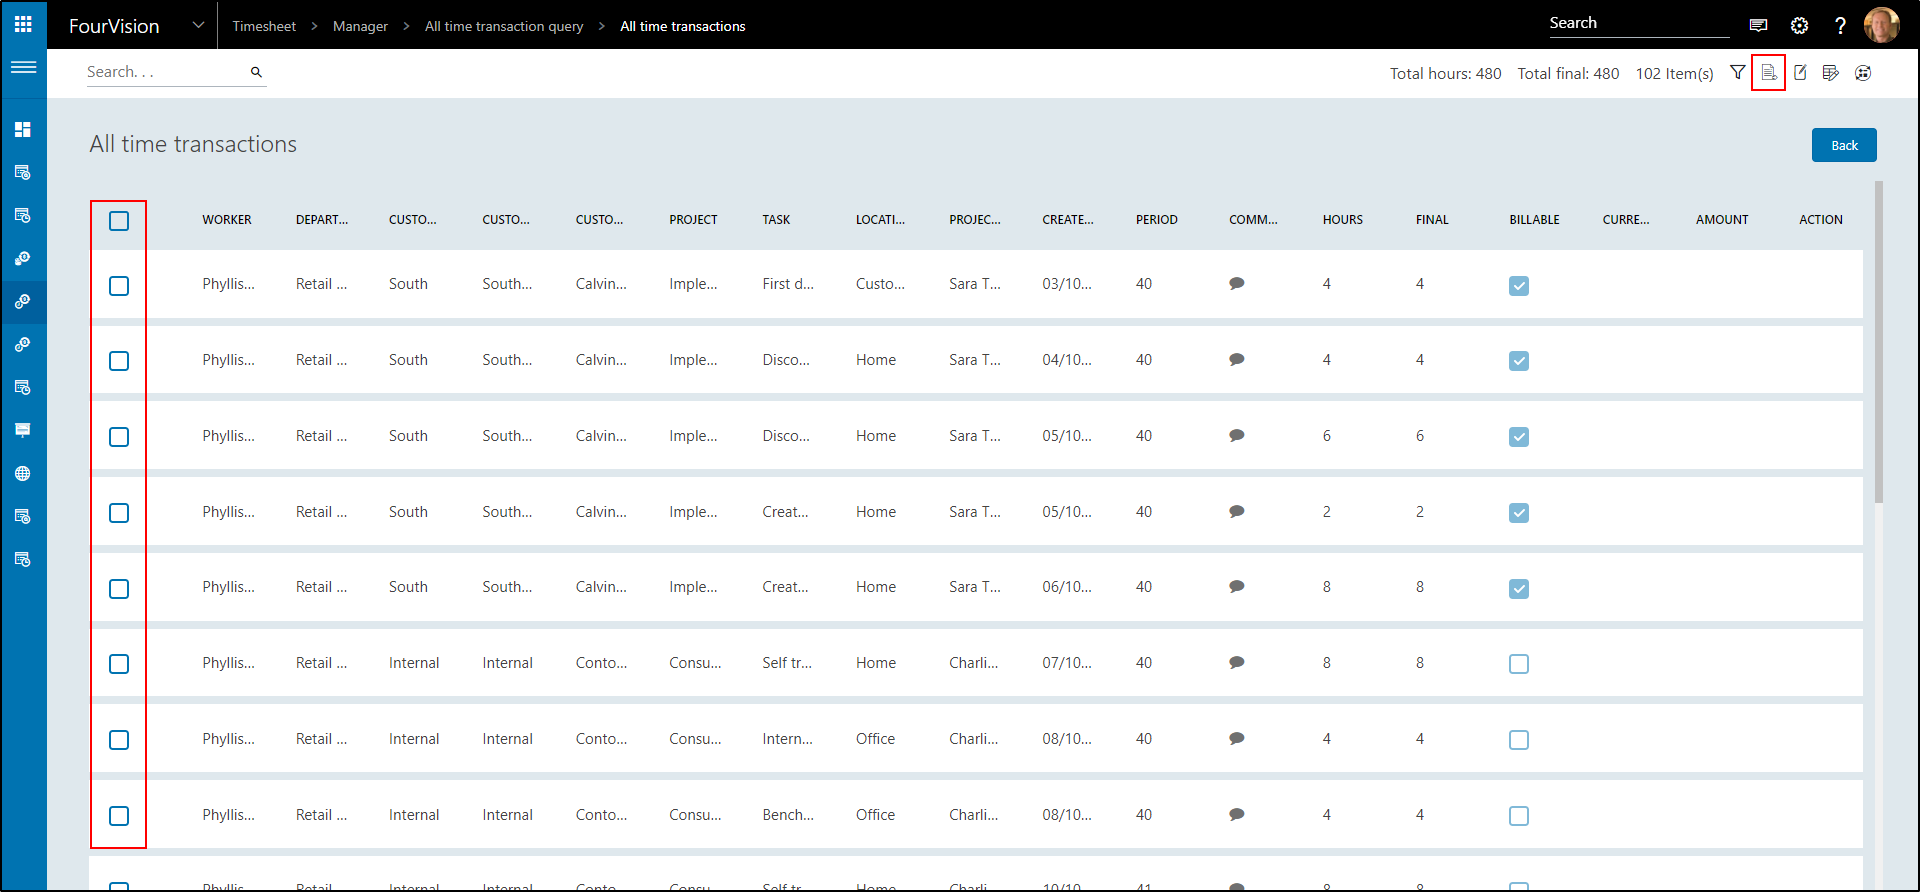
A popup message will appear:

Click the checkbox on the top to select all and click the export icon again.
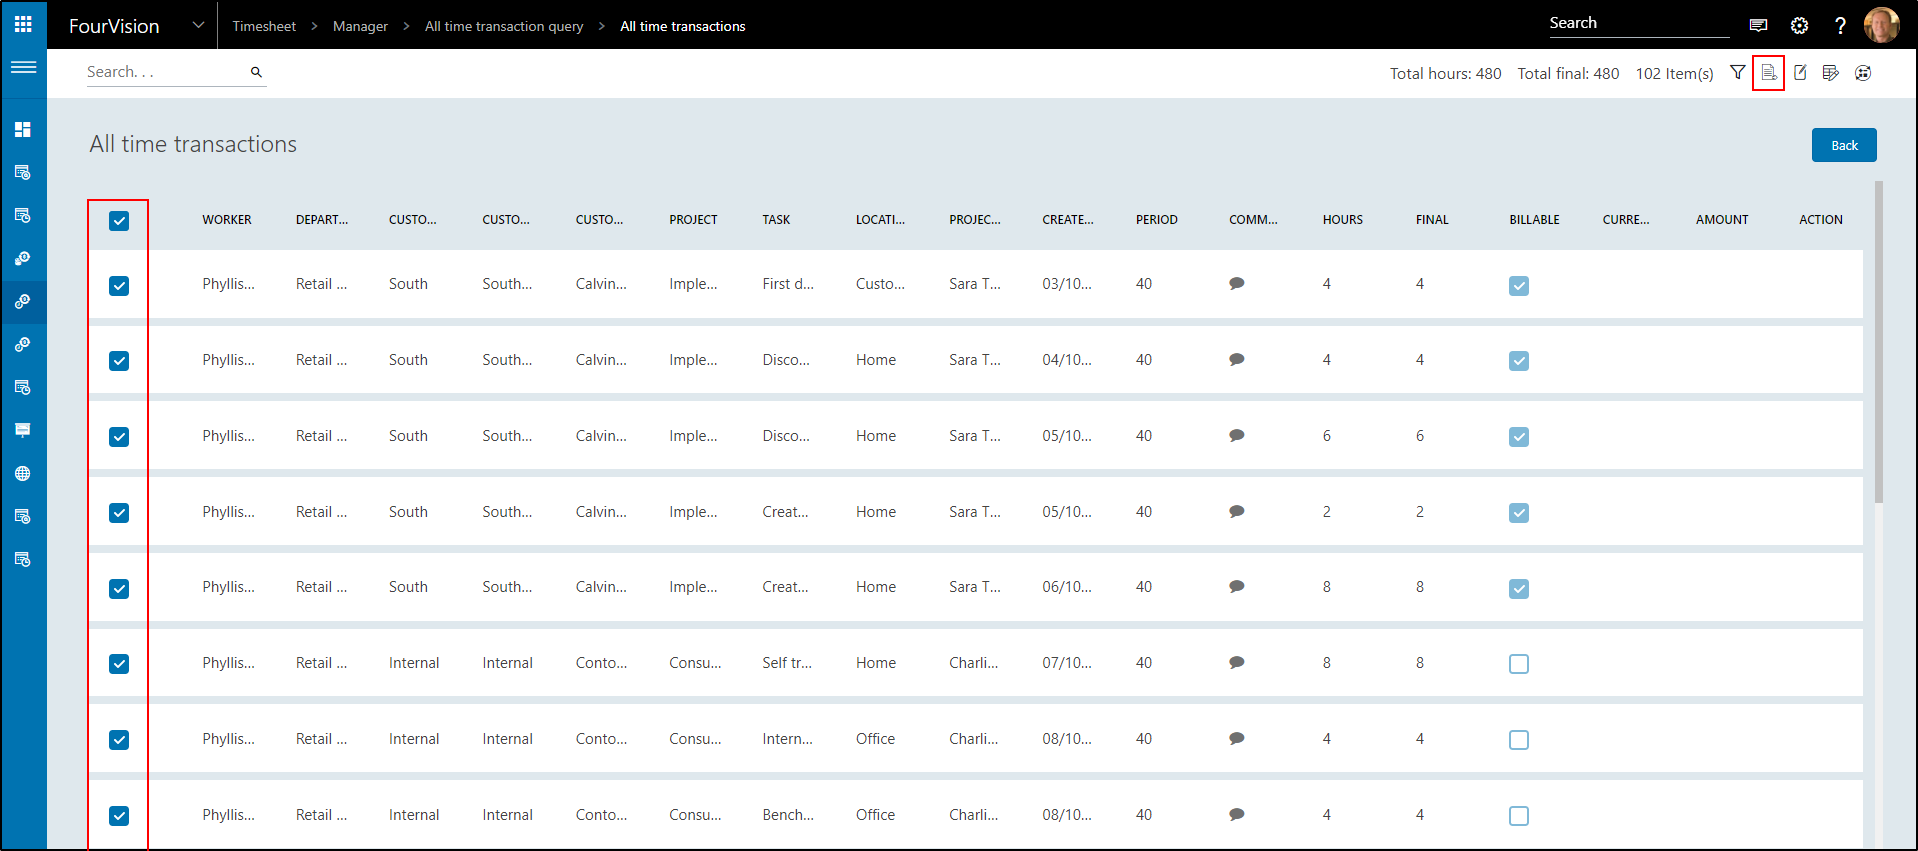
Open the excel:
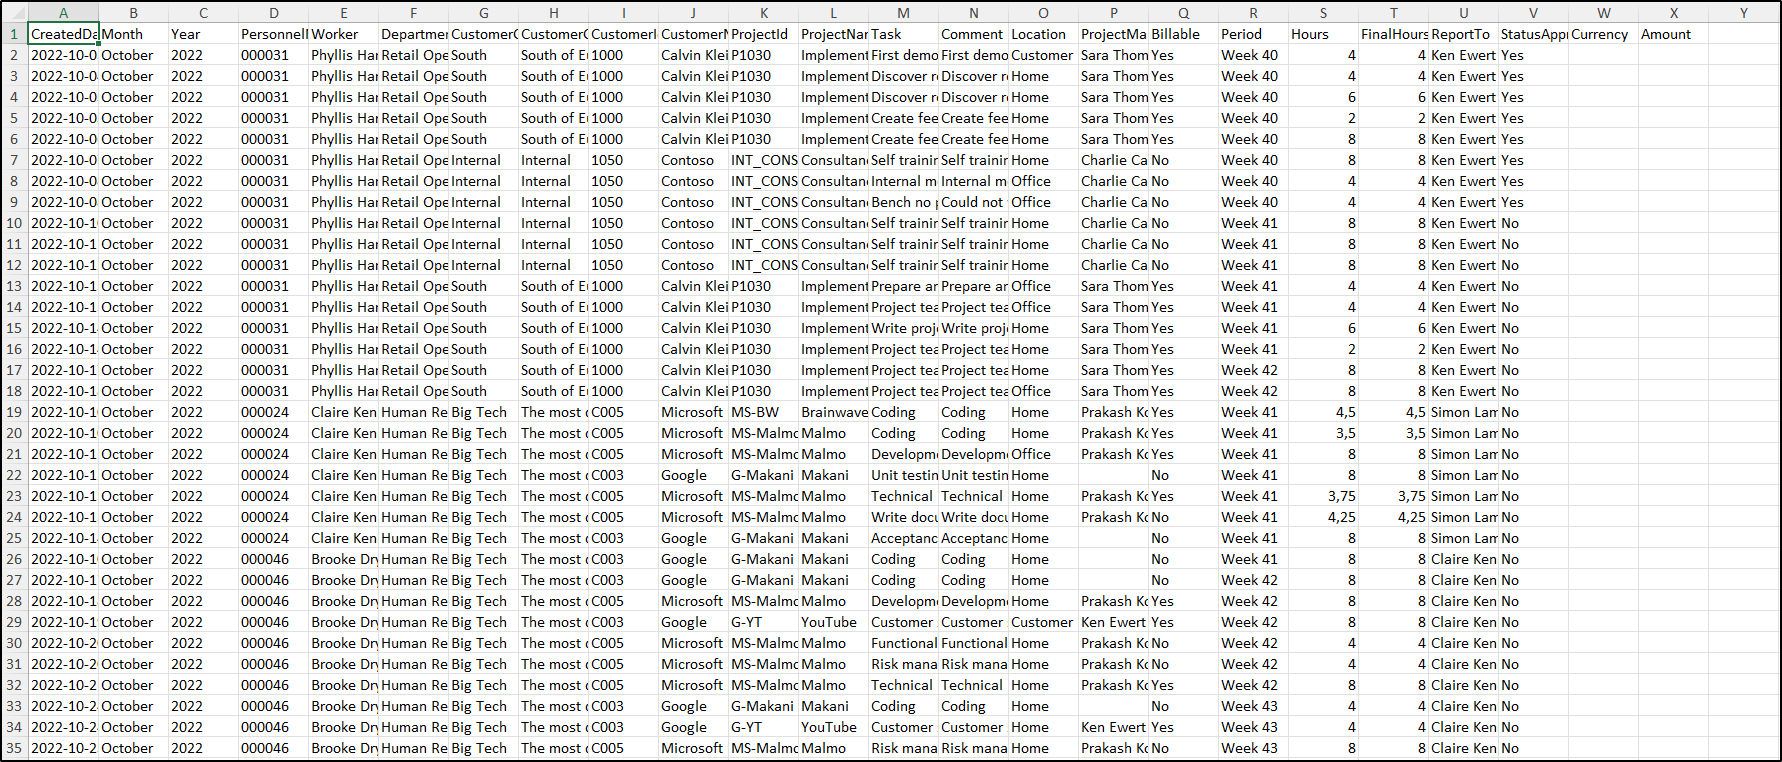
All transactions are exported and shown in the excel.
Use the filter to make a selection and select all the transactions. Click Export.
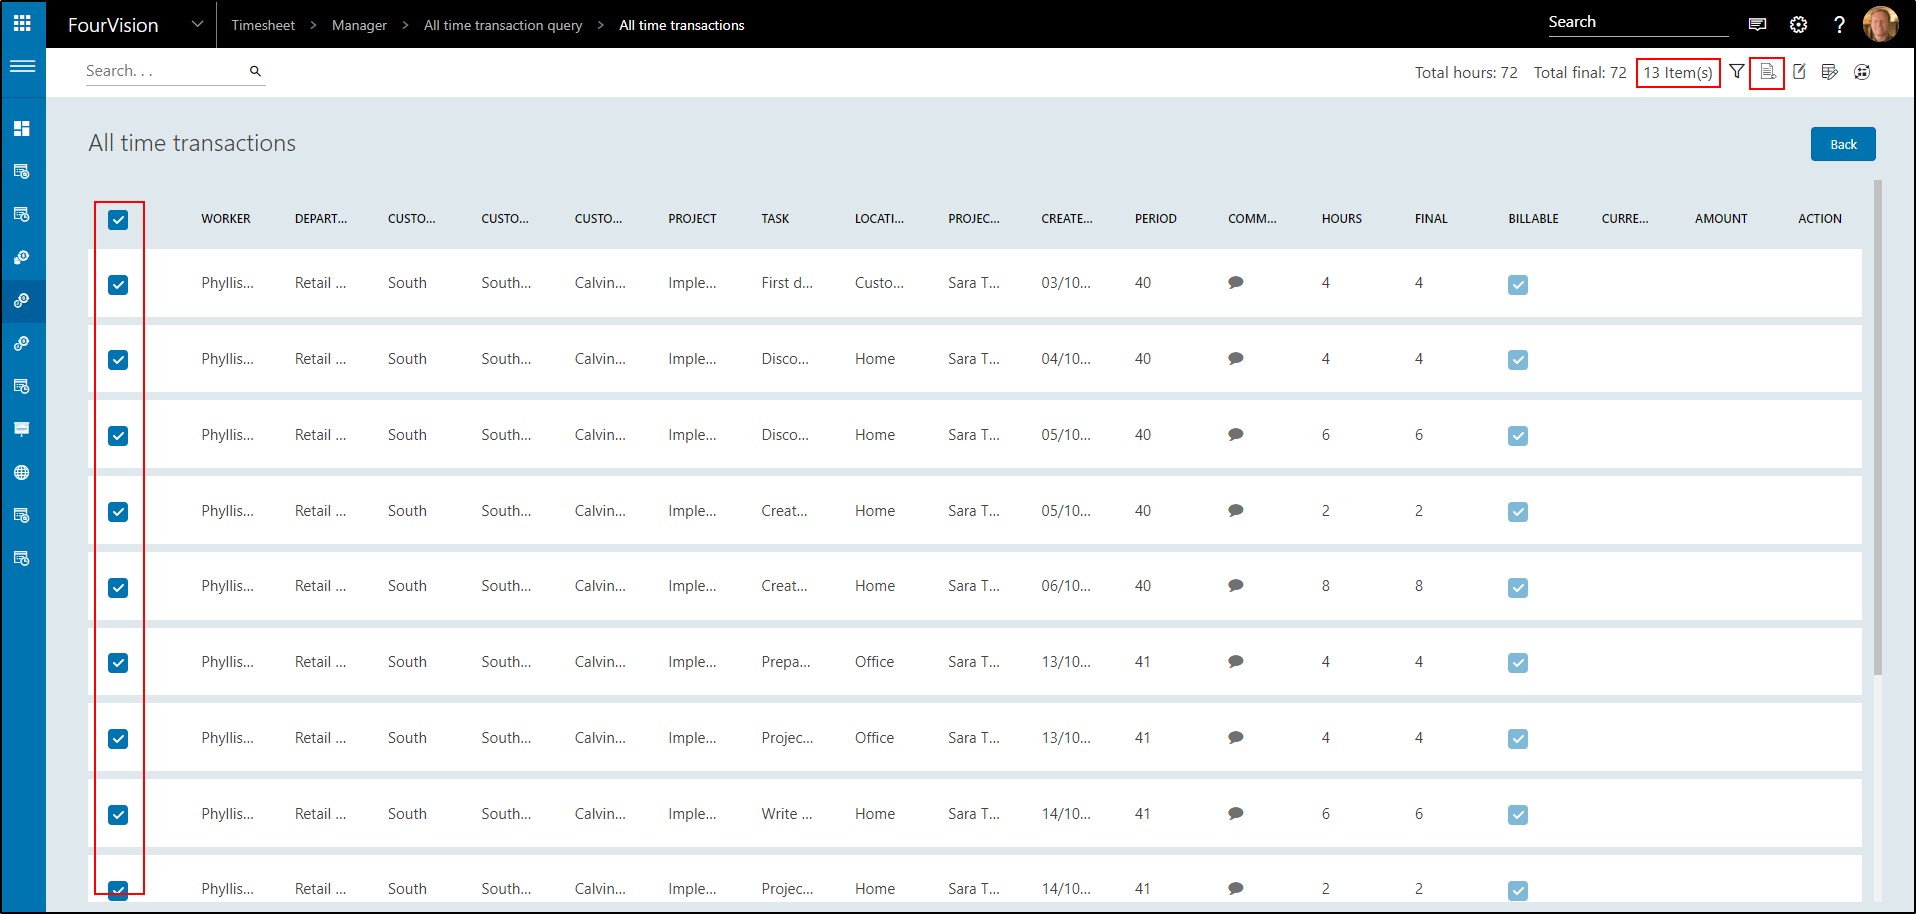
Open the excel:

It shows 13 transactions of Phyllis that are billable. This is correct.
###Edit the details
When you are the line manager you have the option to change details if the status of the transaction is Submitted.
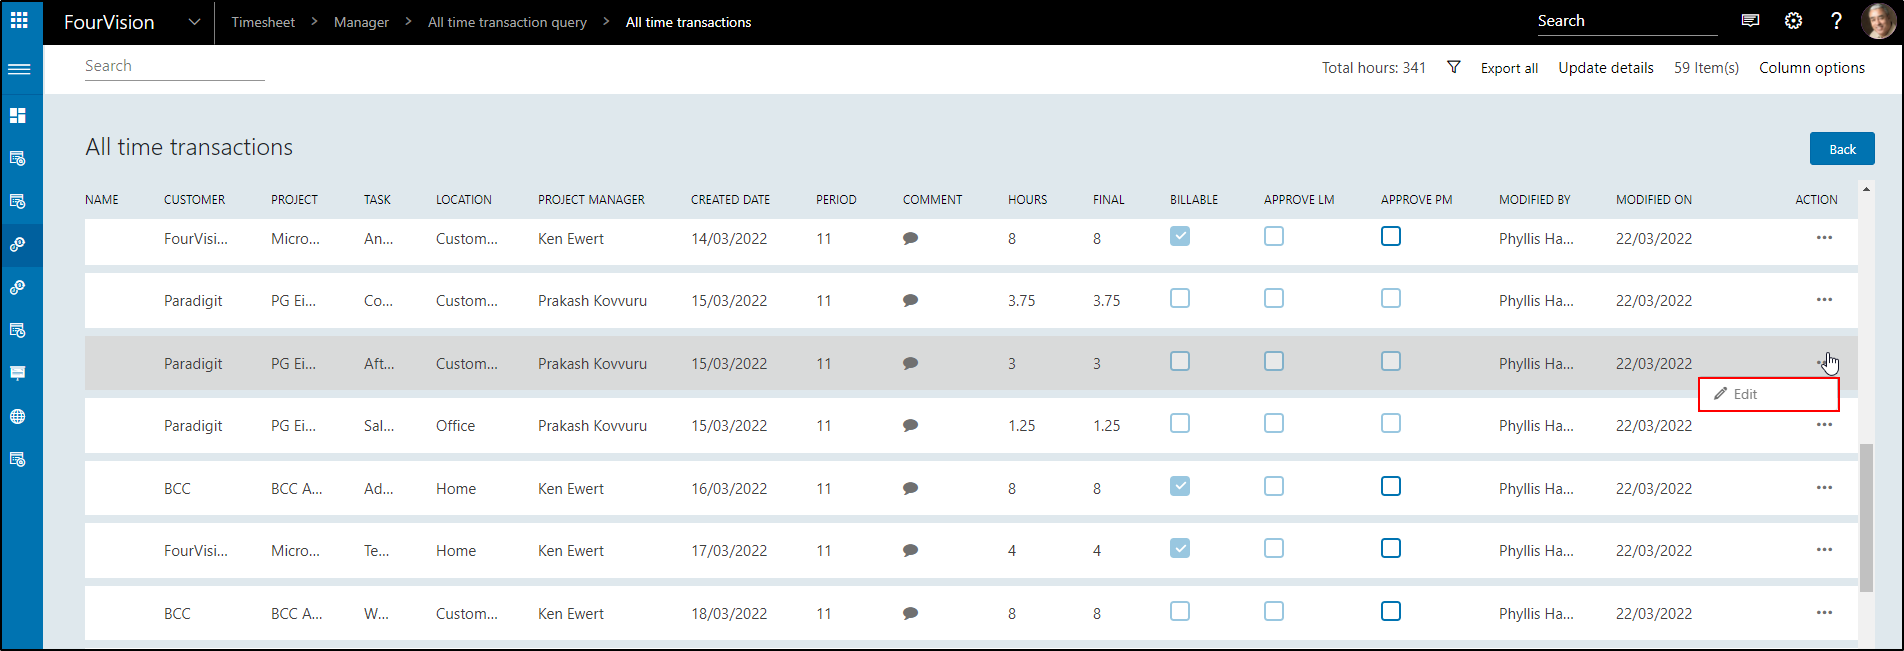
Here you have the option to change Hours*, Billable and Comment.
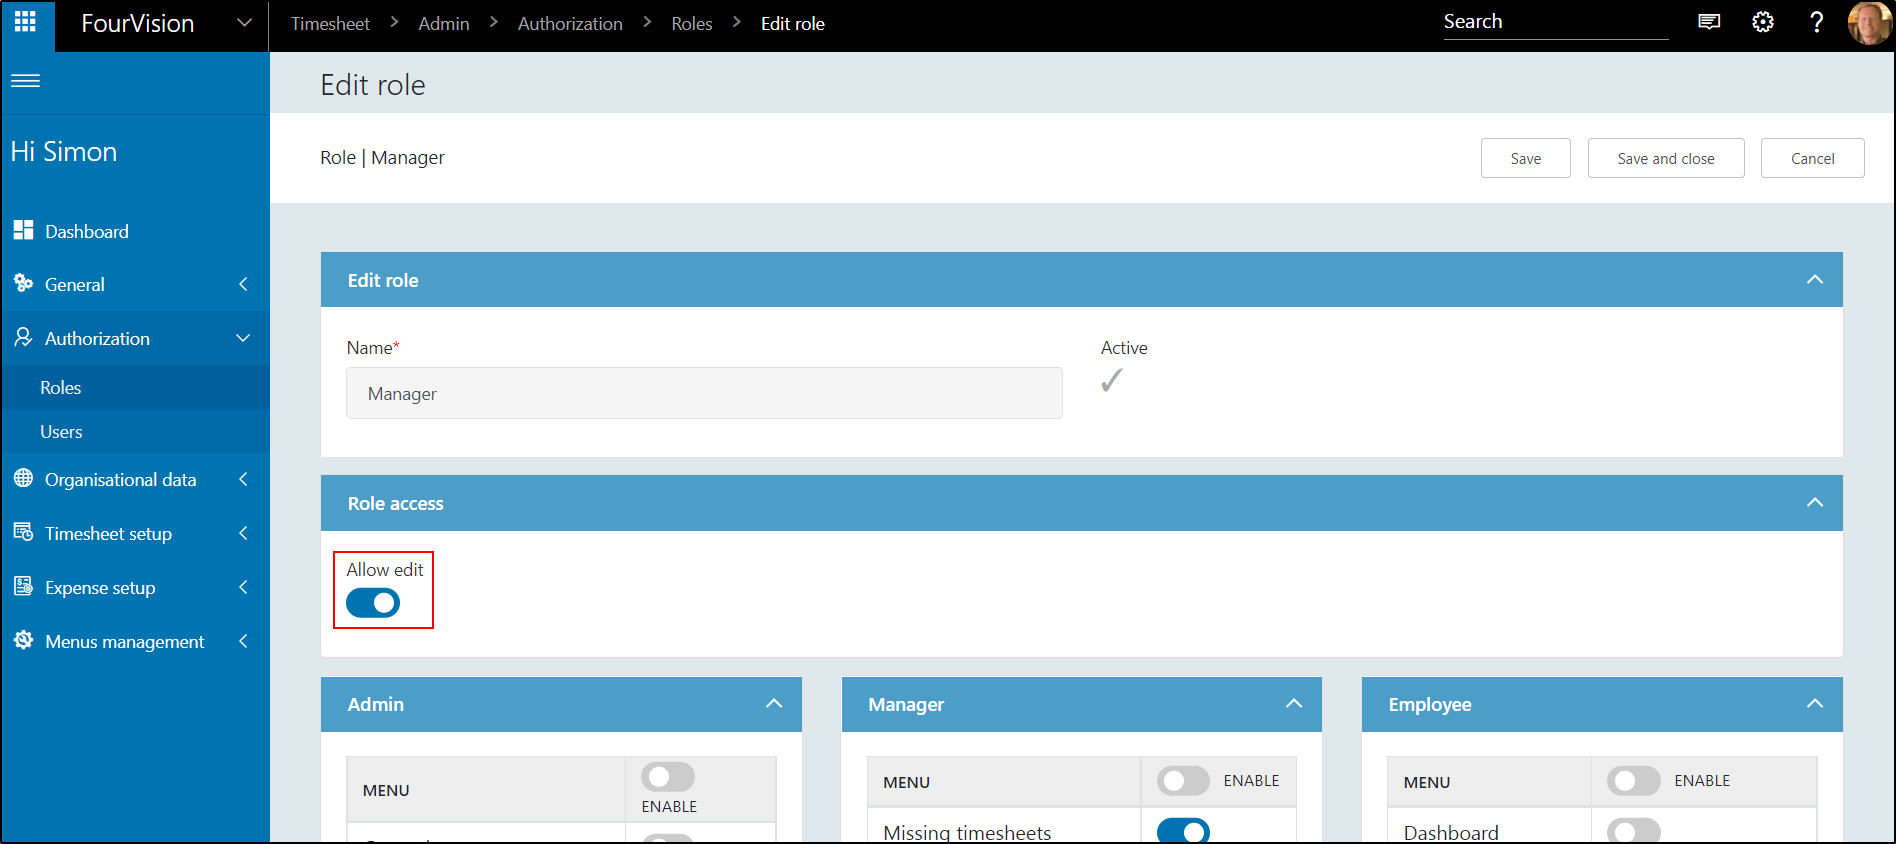
There is some extra functionality available:
First, go to Roles, select the role you want to give extra options and switch the toggle Allow Edit to active.
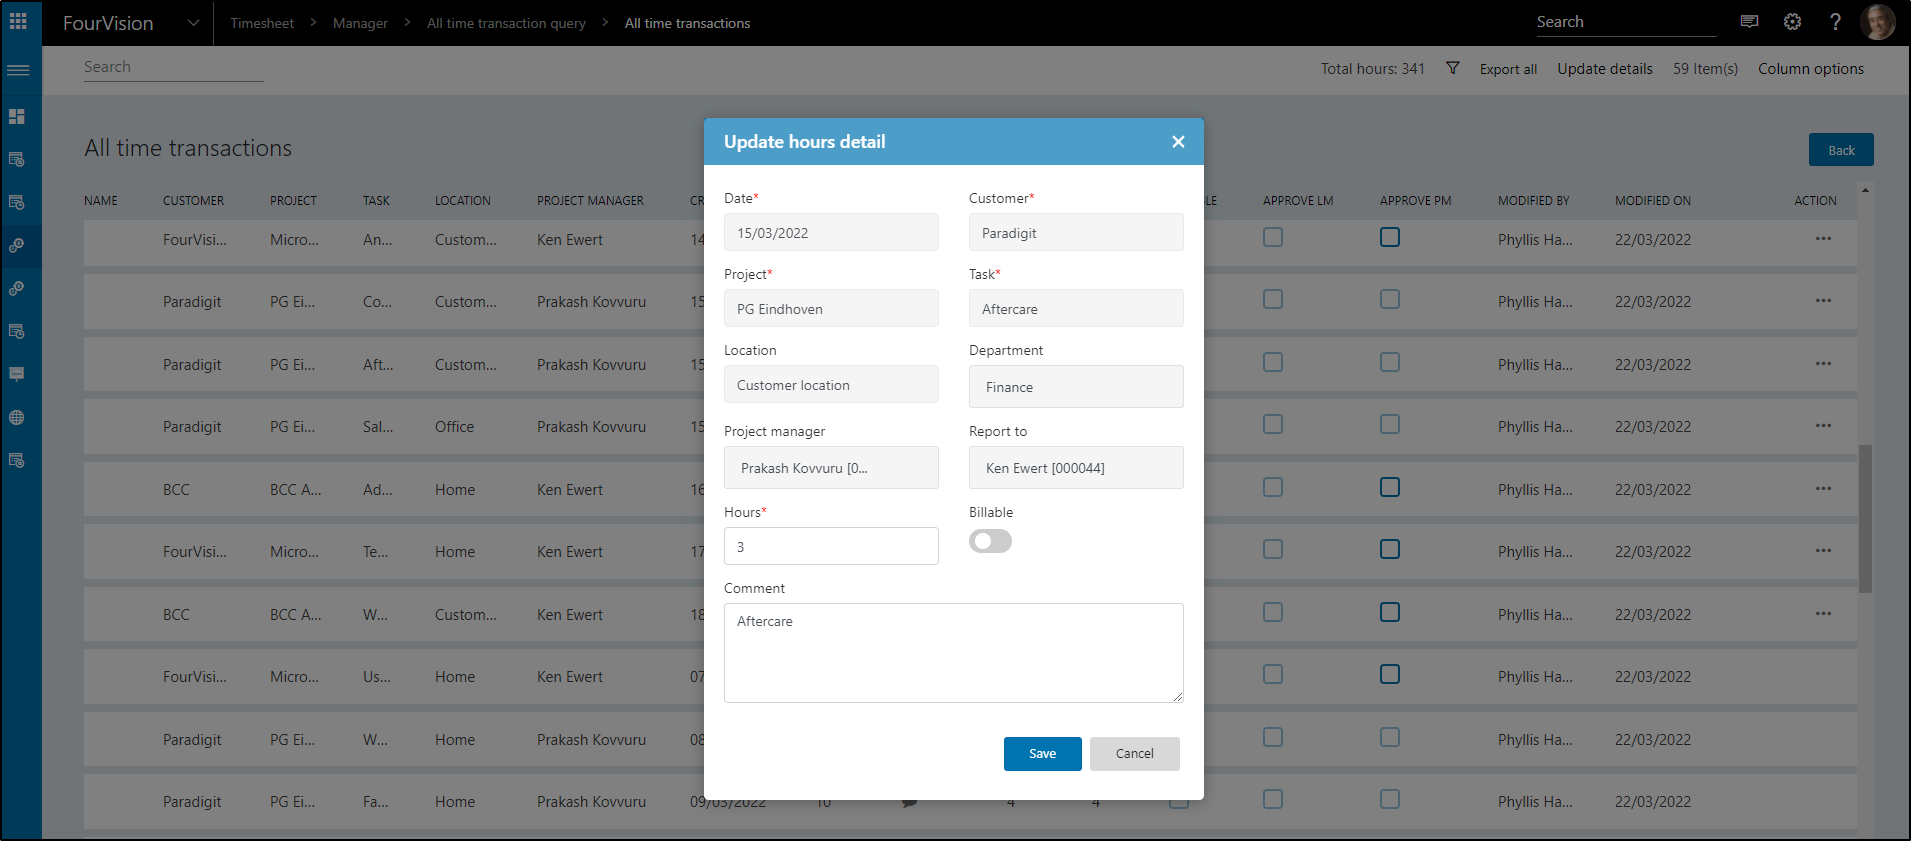
As a manager with that role, go back to All time transactions and Edit a line.
Now it is possible to also change Department, Project manager and Report to:
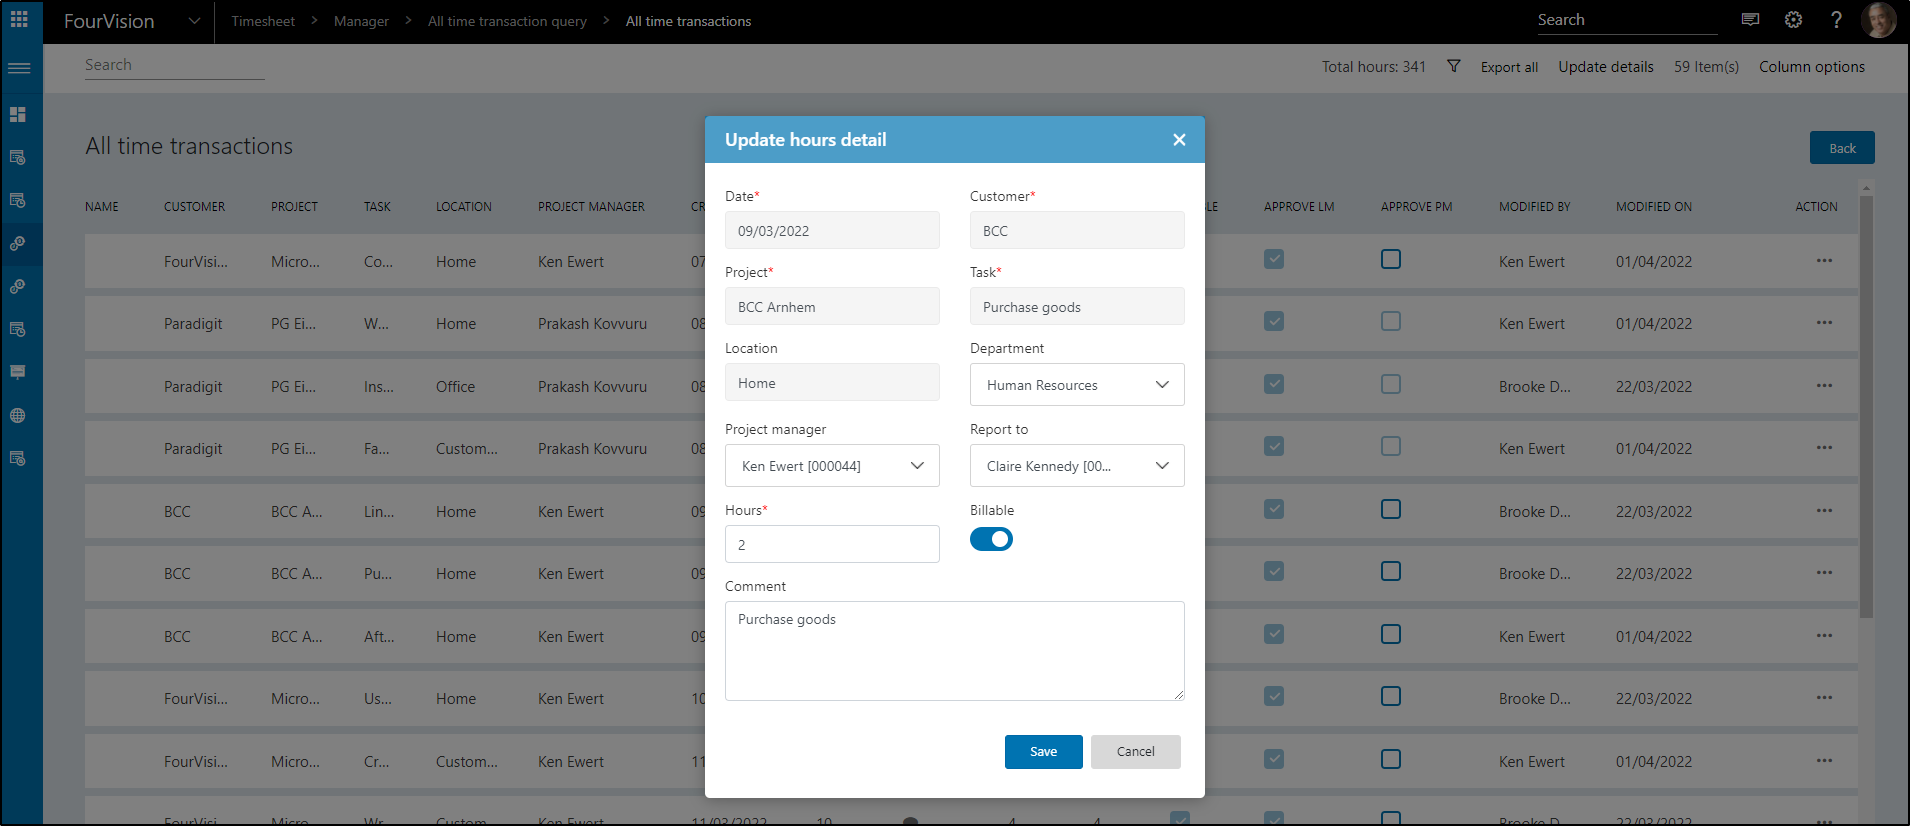
Be careful when using this option. It allows change of the transaction in any status.
###Update details
On the top right corner of the screen, you have an icon 'Update details'. This is the same as editing but another view. From this view you can edit multiple lines at once.
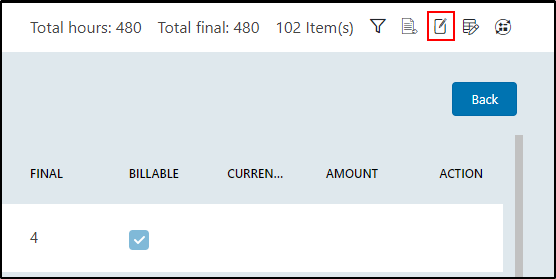
Select the transaction(s) you are allowed to edit and click the 'Update details' icon.
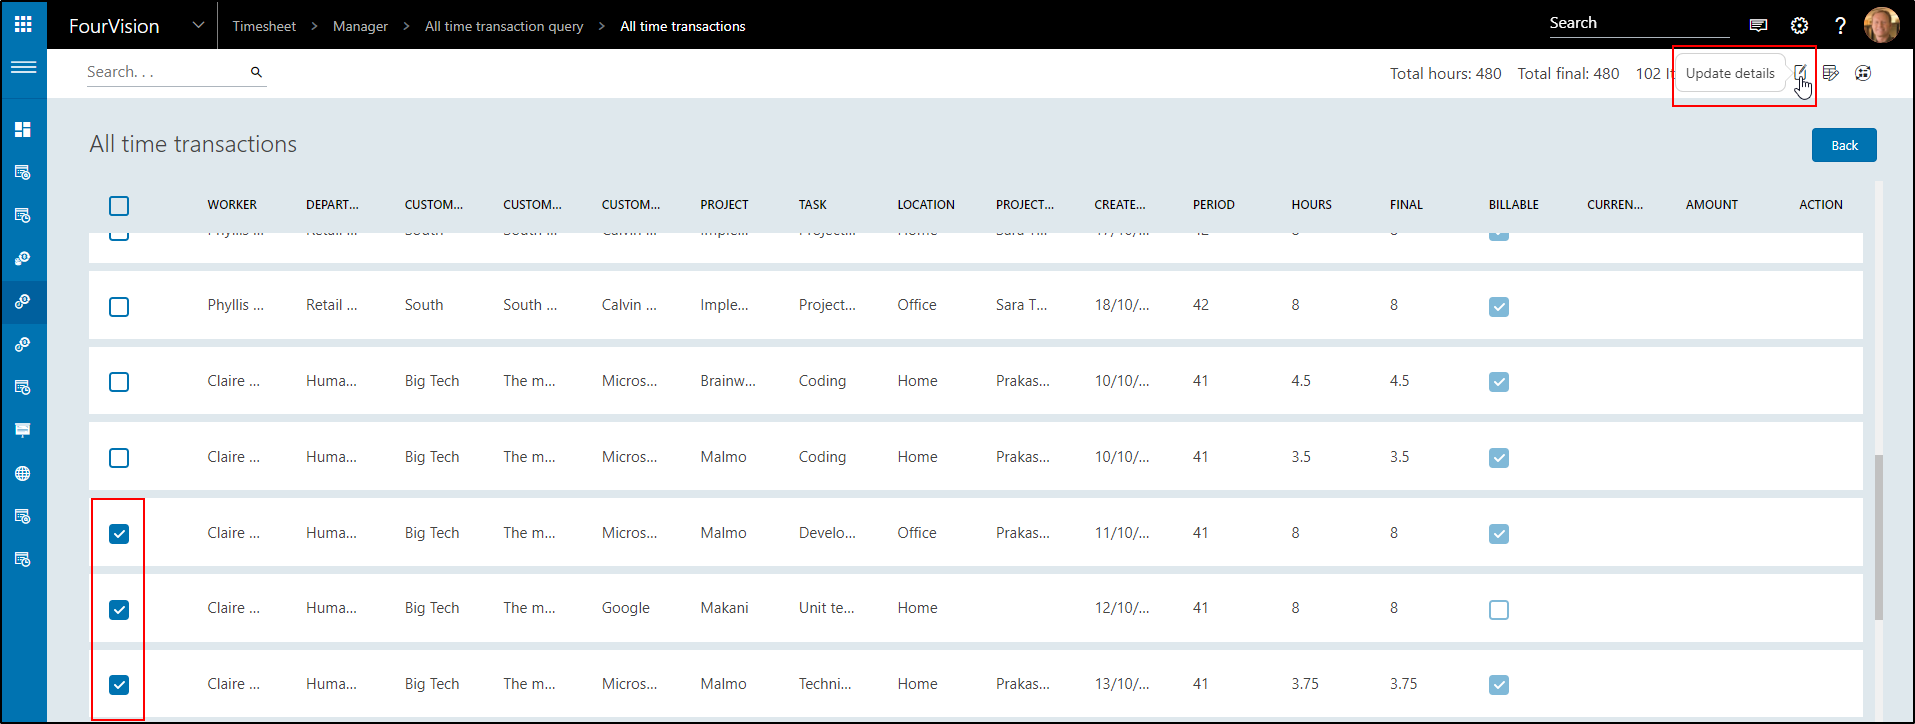
From here you can edit the Hours*, Description and Billable, same as with the Edit under the three dots.

If you select a transaction you are not allowed to edit, you will see that everything is greyed out.

###Column options
Next, we have the Column options icon. This allows you to enable or disable columns, so you don't see more then you want or need.
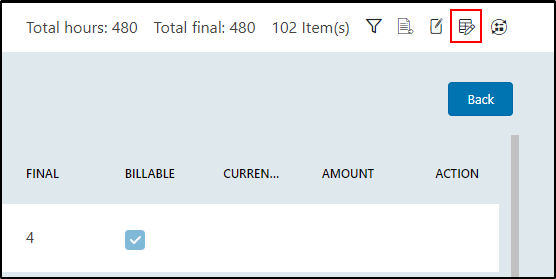
Click the icon 'Column options'. A pop up will appear with all the available columns. Some are set to active and cannot be switched off. Those are mandatory. These are Worker, Customer, Project, Task, Period, Final.
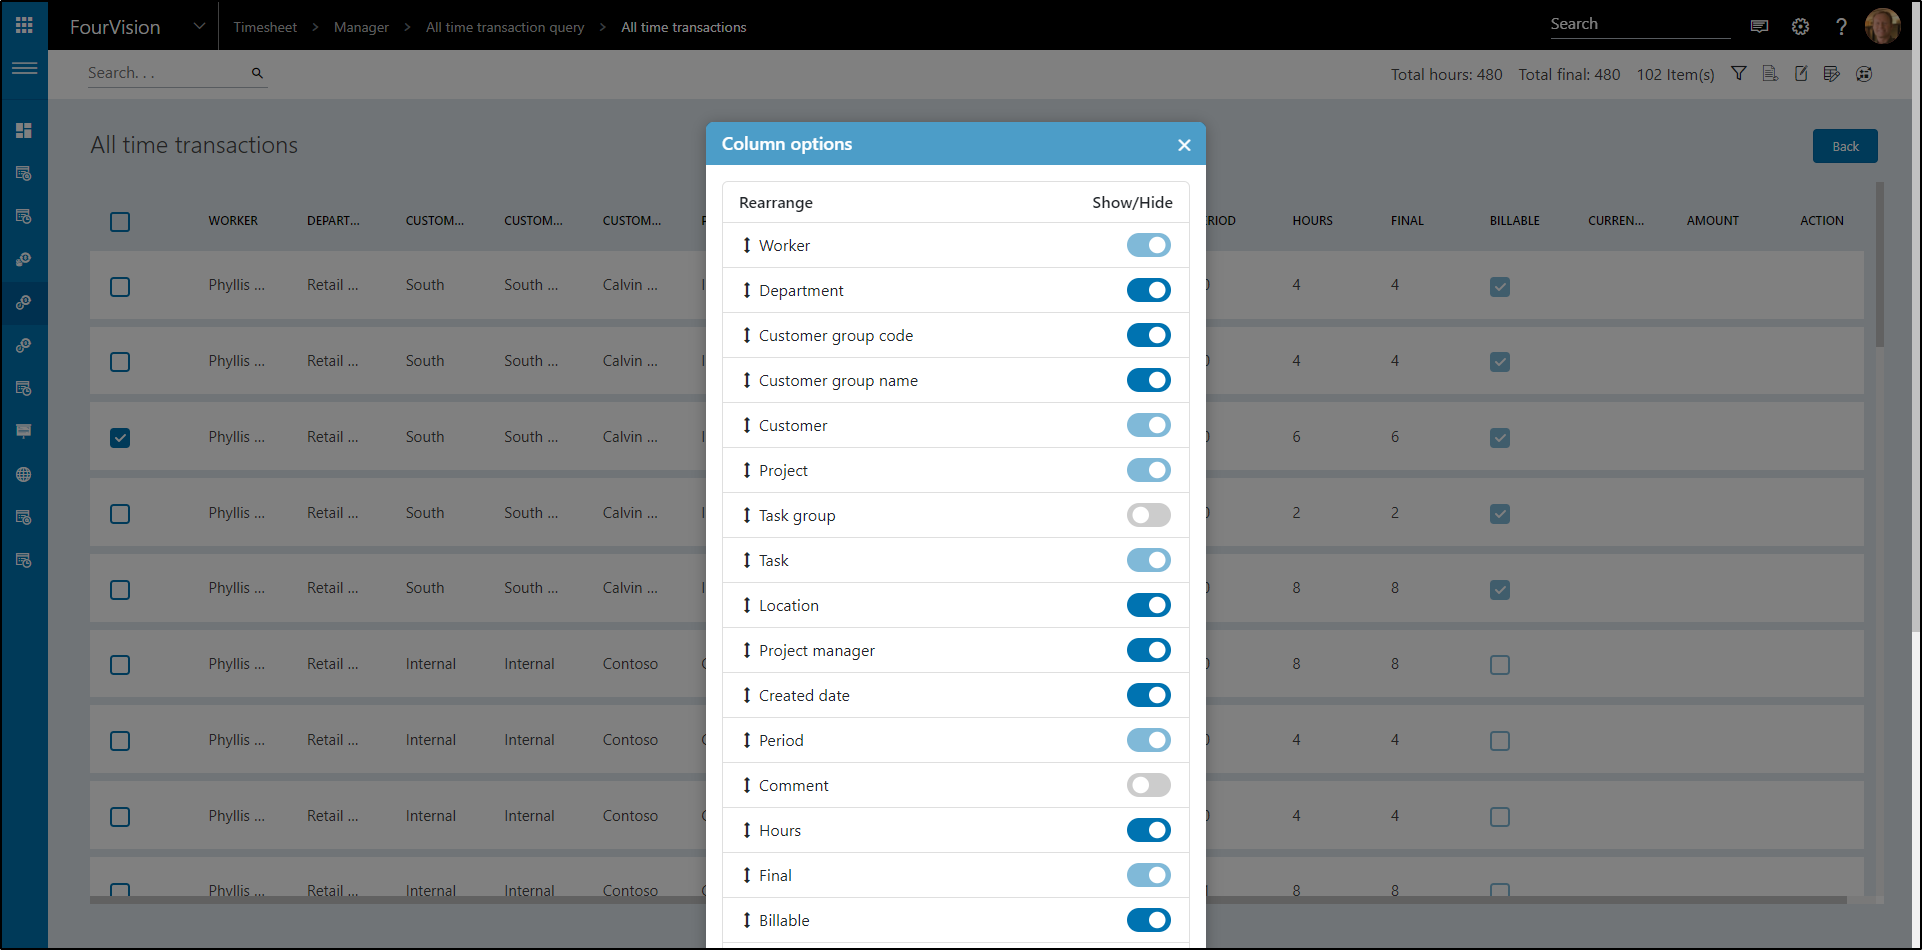
Switch all the toggles of, except for the ones that are mandatory. Click Save.
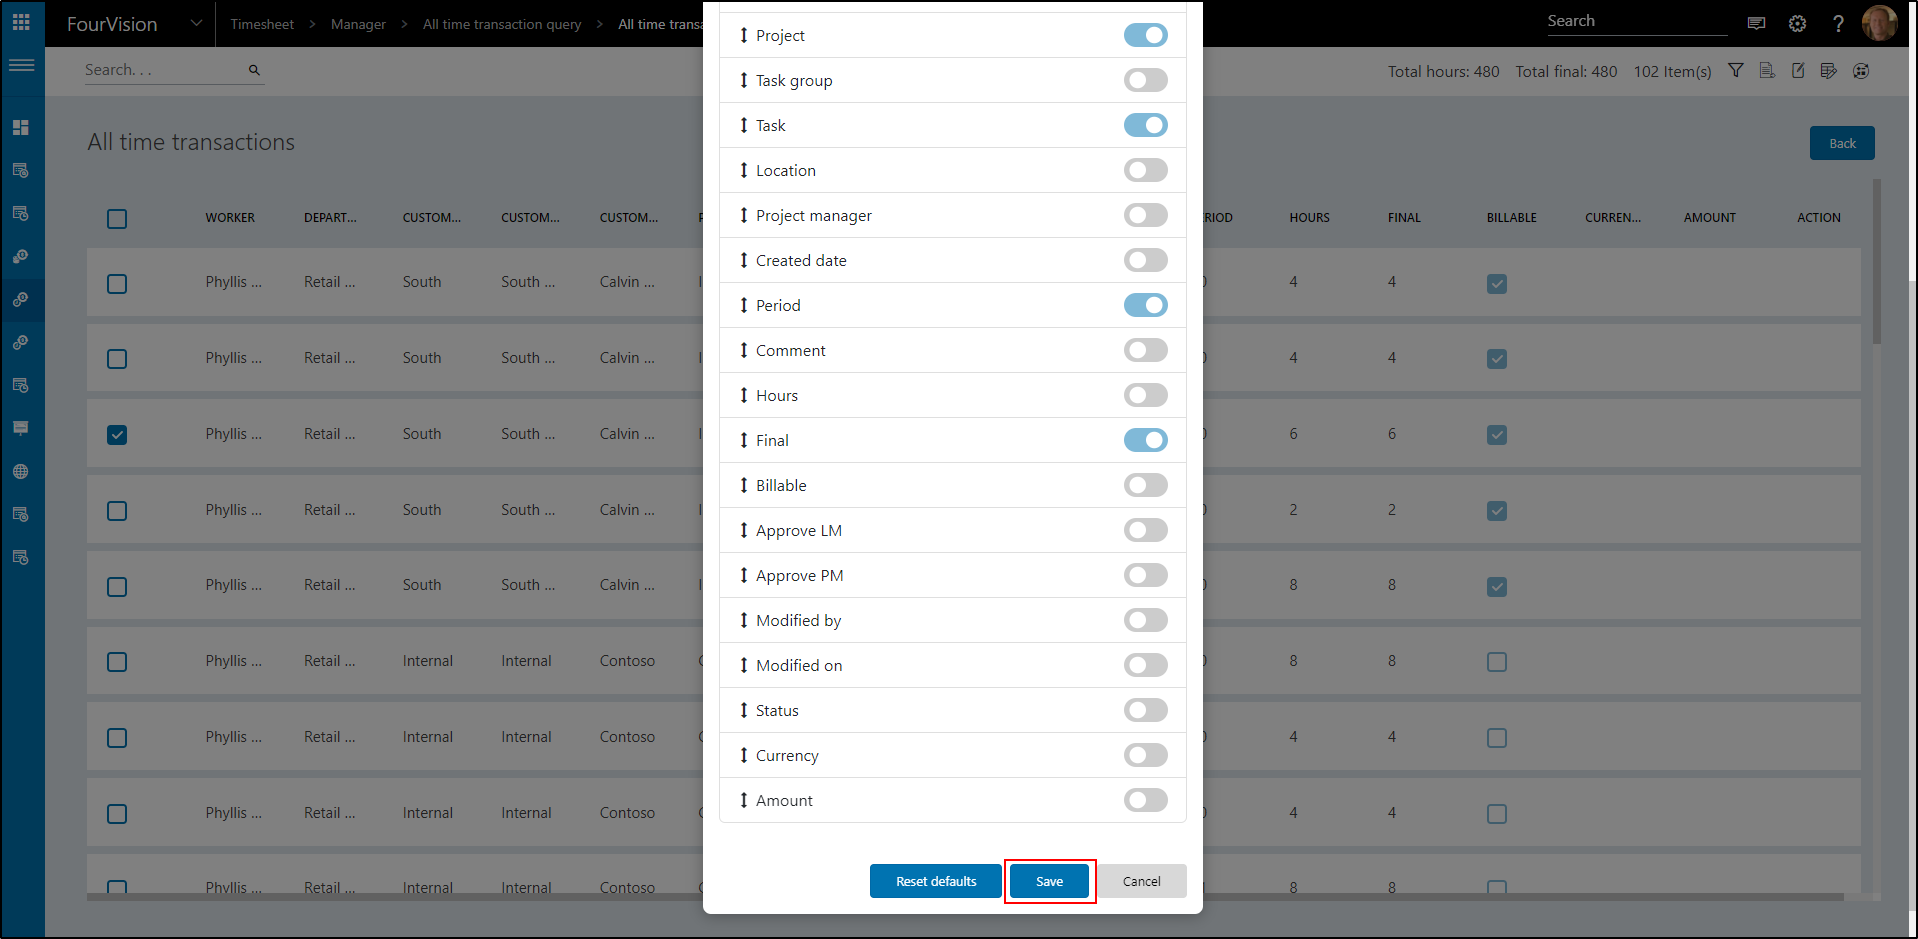
Only the active columns will show in the transactions.

Next, set all the columns to active and click Save.
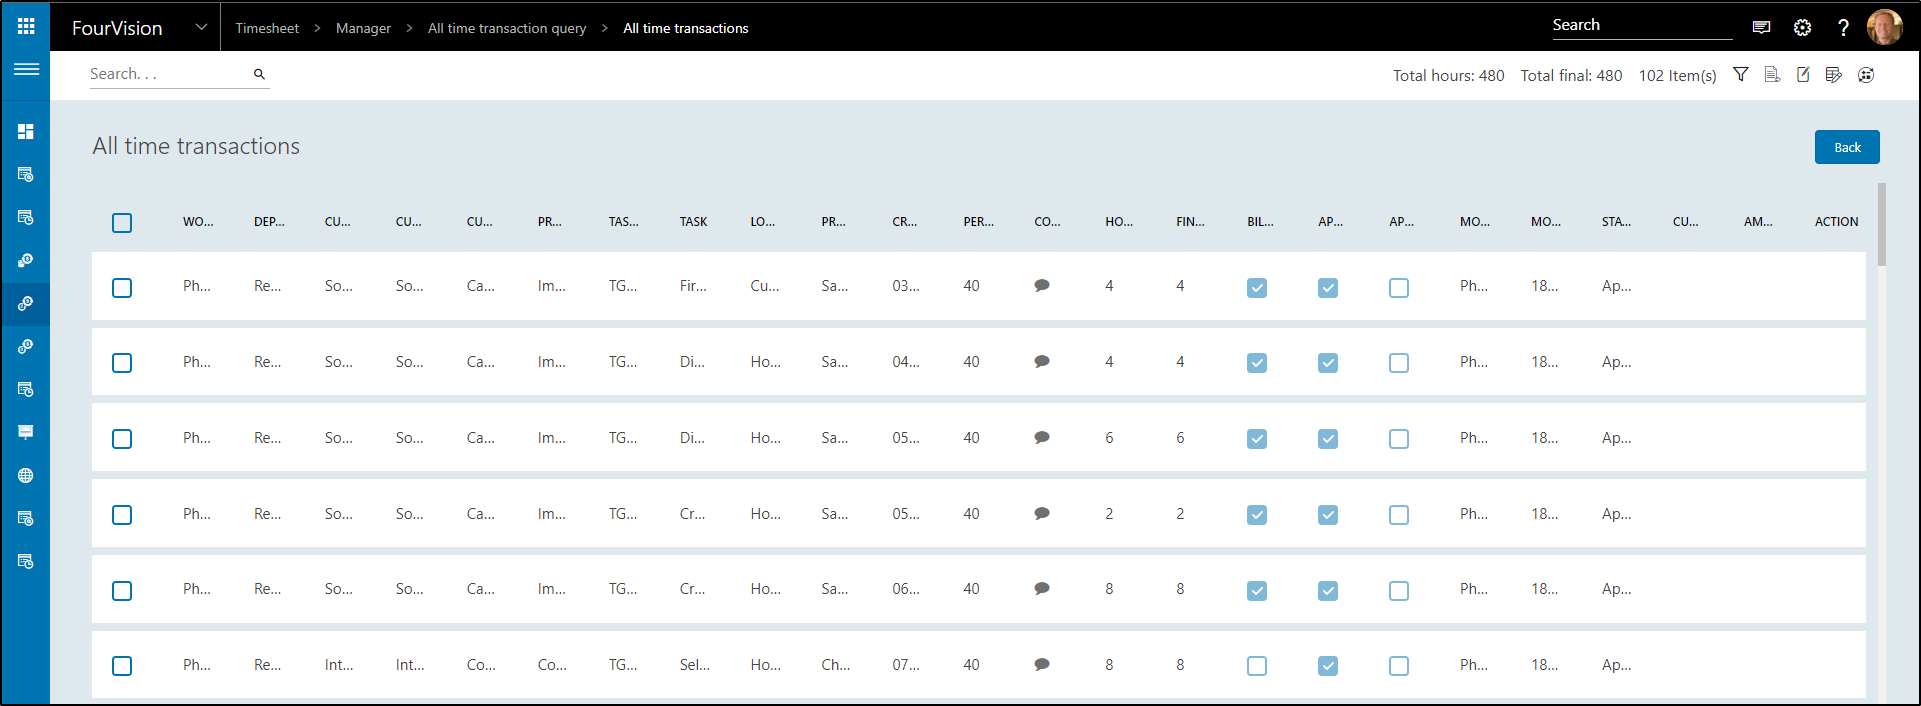
Now all columns are active. This is not very organized, so we are setting it back to default.
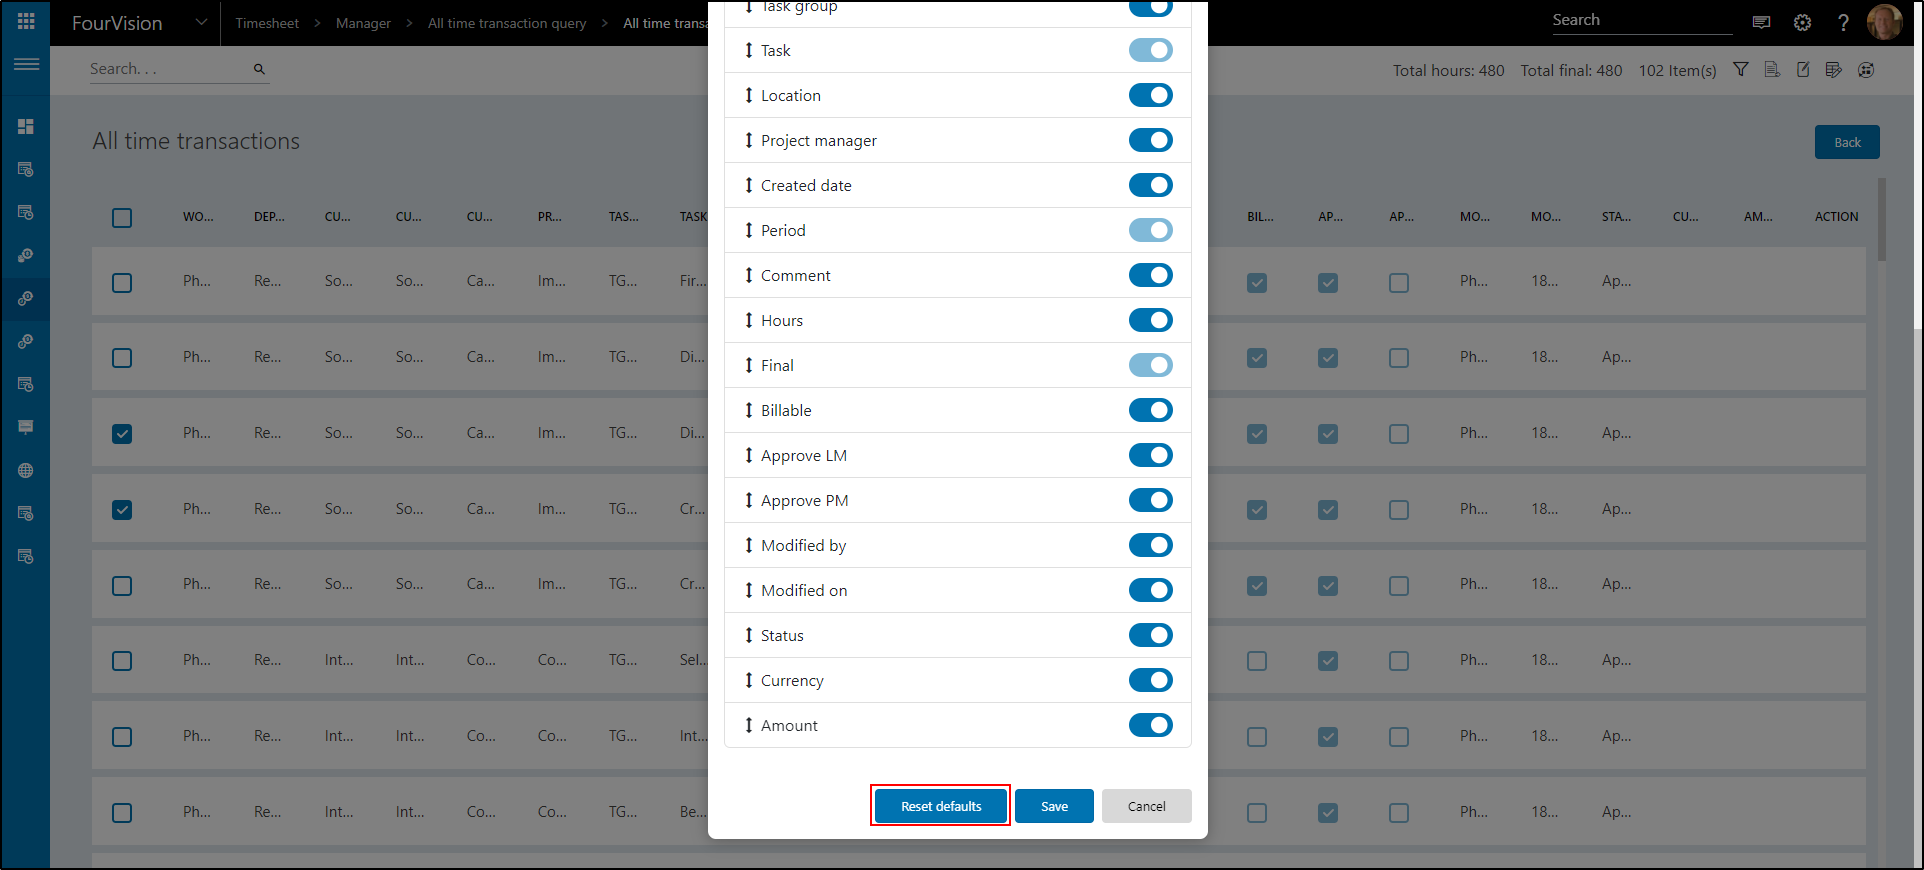
A popup will appear:
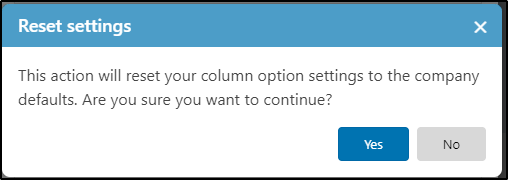
Click Yes.

Everything is back to default.
note There is a minimal number of columns that needs to be exported, but if you activate more under 'Column options' those activated columns are also exported. So, you can basically export the desired columns by activating or de-activating them prior to Export. This offers flexibility to the users.
###Recalculate rate
The last icon we have on the top right of the screen is 'Calculate rate'

Before this functionality can be used, the 'Financial rates' have to be set up. This has to be done by the Timesheet administrator.
I have setup two financial rates, Brooke and Phyllis.

The functionality will only work for transactions that are created after the setup of financial rates. So, if you have transactions from a week ago, but you want to add financial rates after all, this won't work.
I created a new timesheet in Week 49 for Brooke where I worked on Google - Makani for 24 hours total.
Go to All time transactions and filter her out (Brooke, week 49)

Go to Timesheet setup --> Financial rates

Click Edit
Change the rate to 90,00

Go back to 'All time transaction query'
The old amount is still there.

Now click 'Recalculate rate'

Refresh the screen
Done.